How Do I VNC From Raspberry Pi To Outside Network? The Ultimate Guide
So here we are, diving deep into one of the most asked questions in the tech-savvy world: "how do i vnc from raspberry pi to outside network?" Let me tell ya, this is not just another tech guide—it's your golden ticket to unlocking remote access like a pro. Imagine being able to control your Raspberry Pi from anywhere in the world, whether you're sipping coffee in Bali or stuck in a meeting room in New York. Sounds cool, right? Well, that's exactly what we're going to cover today, step by step, no fluff, all action.
Now, before we dive into the nitty-gritty details, let's break it down for those who might be scratching their heads wondering what VNC even means. VNC, or Virtual Network Computing, is basically a remote desktop protocol that lets you control one computer from another. When you're talking about setting this up with a Raspberry Pi, you're opening up a world of possibilities. This little device becomes a powerhouse you can access from anywhere, anytime.
But why is this important? Well, in today's fast-paced digital world, having the ability to remotely access your devices can save you tons of time and hassle. Whether you're a developer, a hobbyist, or just someone who wants to keep their home automation systems running smoothly, understanding how to VNC from Raspberry Pi to an outside network is a game-changer. So, buckle up, because we're about to embark on a journey that will make you a VNC wizard in no time!
- Alice Rosenblum Porn Leaks The Untold Story You Need To Know
- Goggins Actor The Rise Of A Fitness Icon In Hollywood
Understanding VNC and Its Importance
Alright, let's get into the basics. VNC is not just some random tech term; it's a powerful tool that allows you to control one computer from another. Think of it as a remote control for your devices, but way cooler. When you're talking about setting up VNC on a Raspberry Pi, you're giving yourself the ability to access and manage your Pi from anywhere in the world. This is super useful for a variety of reasons, from troubleshooting issues to monitoring systems remotely.
What Exactly is VNC?
VNC, or Virtual Network Computing, is a graphical desktop sharing system that allows you to remotely control another computer. It transmits the keyboard and mouse events from one computer to another, relaying the graphical screen updates back in the other direction, over a network. This means you can see and interact with the desktop environment of a remote computer as if you were sitting right in front of it.
Why Use VNC with Raspberry Pi?
Using VNC with a Raspberry Pi opens up a ton of possibilities. Whether you're running a home server, managing IoT devices, or just want to access your Pi from another location, VNC makes it all possible. Plus, it's super easy to set up, even for those who aren't tech wizards. With just a few simple steps, you can have your Raspberry Pi up and running, ready to be accessed from anywhere in the world.
- Kenny Smith Allstar The Journey Achievements And Legacy
- What Is Data Visualization In Iot Unlocking The Power Of Connected Insights
Setting Up VNC on Raspberry Pi
Now that you know what VNC is and why it's important, let's talk about how to set it up on your Raspberry Pi. This process is pretty straightforward, but there are a few key steps you need to follow to ensure everything runs smoothly. From enabling VNC to configuring your network settings, we'll cover it all.
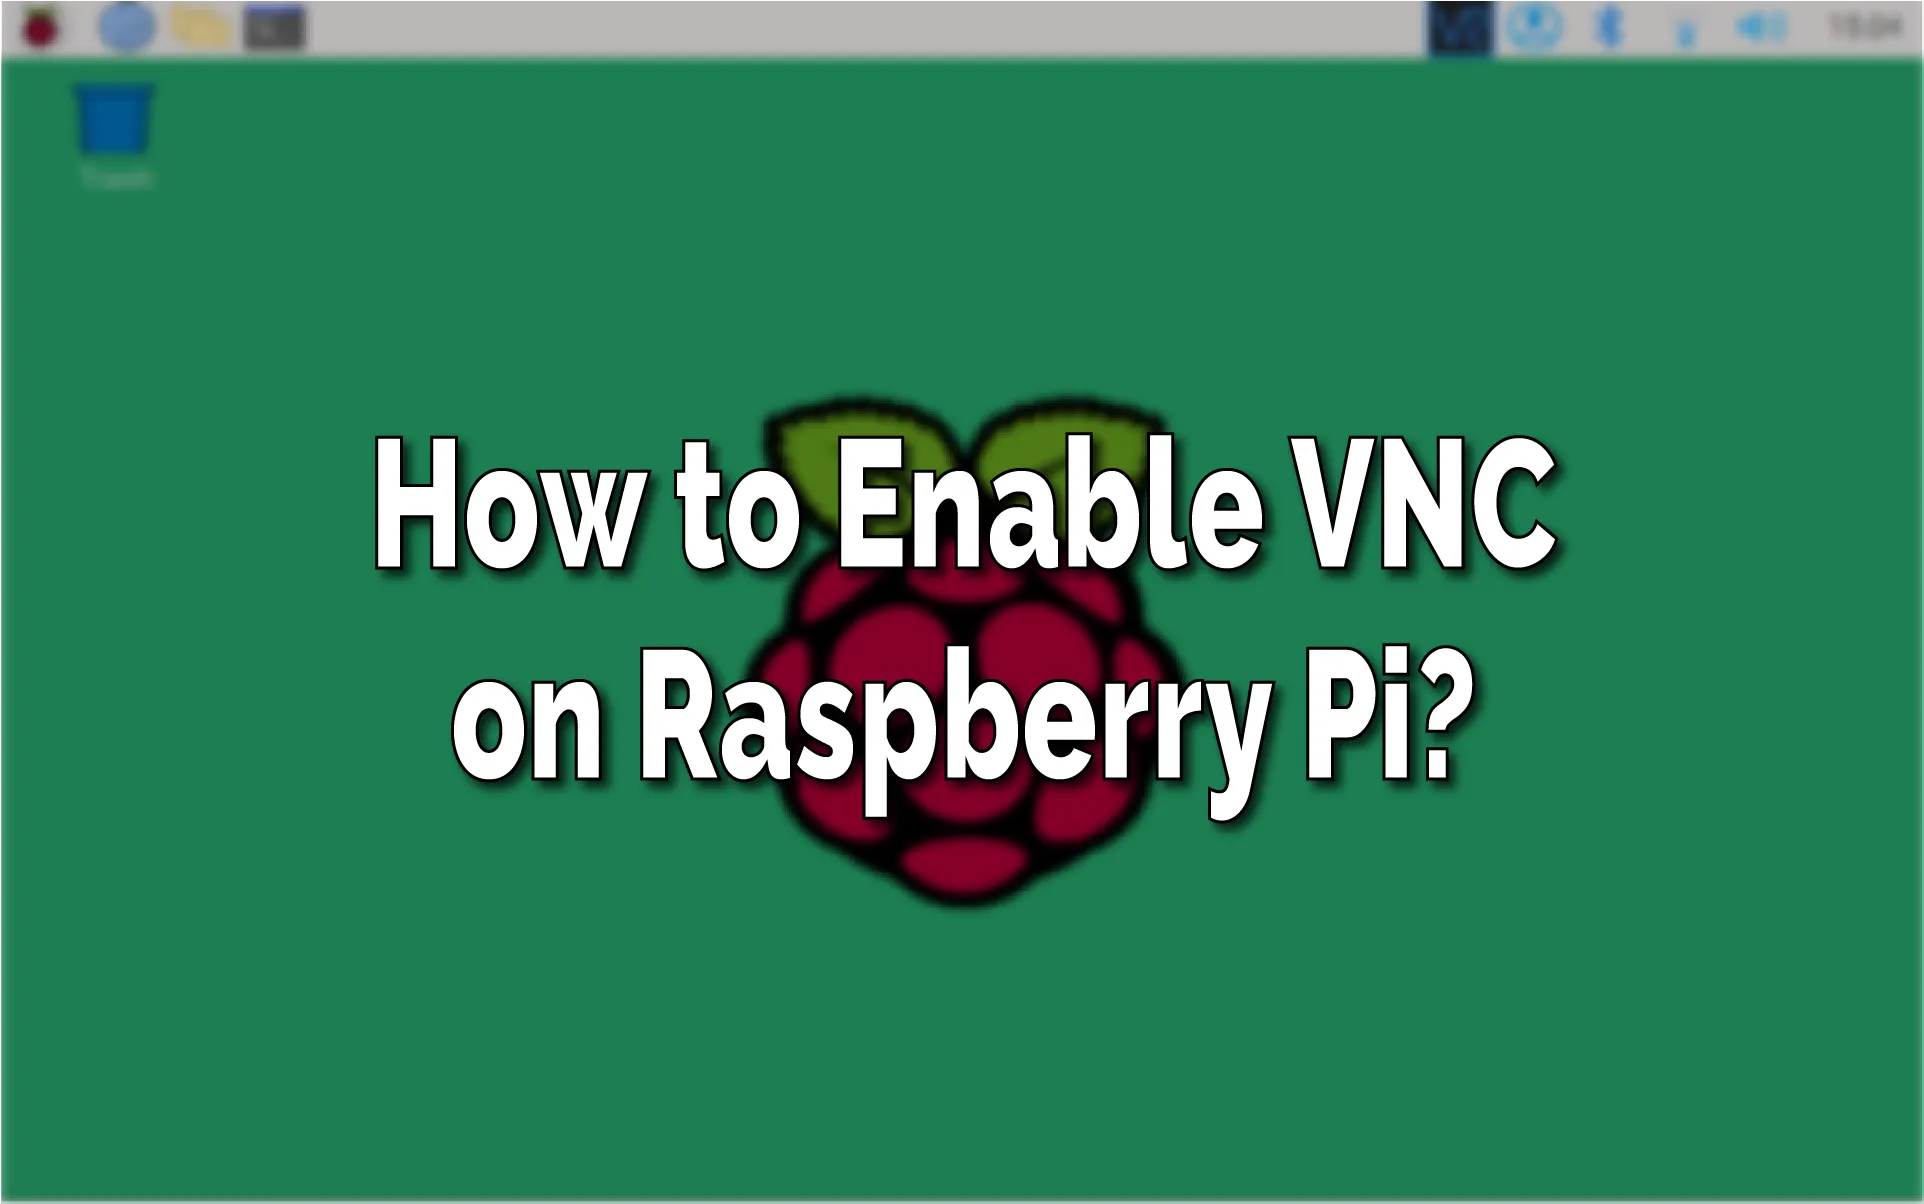
Enabling VNC on Raspberry Pi
The first step in setting up VNC on your Raspberry Pi is enabling it. This can be done through the Raspberry Pi Configuration tool or by using the command line. Here's how you do it:
- Open the Raspberry Pi Configuration tool from the Preferences menu.
- Select the Interfaces tab.
- Set VNC to Enabled.
Alternatively, you can enable VNC via the command line by typing the following commands:
sudo raspi-config
Then navigate to Interfacing Options > VNC > Yes.
Installing VNC Server
Once VNC is enabled, the next step is installing the VNC server. The Raspberry Pi comes with RealVNC pre-installed, but you can also choose to install other VNC servers if you prefer. Here's how you install RealVNC:
- Open a terminal window.
- Type the following command: sudo apt-get update
- Then type: sudo apt-get install realvnc-vnc-server realvnc-vnc-viewer
And that's it! RealVNC should now be installed on your Raspberry Pi.
Connecting Raspberry Pi to an Outside Network
Now that VNC is set up on your Raspberry Pi, the next step is connecting it to an outside network. This is where things can get a little tricky, but don't worry, we've got you covered. From configuring your router to setting up port forwarding, we'll walk you through every step.
Configuring Your Router
One of the most important steps in connecting your Raspberry Pi to an outside network is configuring your router. This involves setting up port forwarding, which allows traffic from the outside network to reach your Raspberry Pi. Here's how you do it:
- Log into your router's admin interface.
- Find the Port Forwarding section.
- Add a new rule, specifying the IP address of your Raspberry Pi and the port number VNC is using (usually 5900).
Once this is done, your Raspberry Pi should be accessible from outside your local network.
Using a Dynamic DNS Service
Another important step is setting up a Dynamic DNS (DDNS) service. This is especially useful if your internet service provider assigns you a dynamic IP address, which can change periodically. A DDNS service will provide you with a consistent domain name that points to your Raspberry Pi, even if your IP address changes.
There are several DDNS services available, such as No-IP and DuckDNS. Here's how you set up DuckDNS:
- Go to duckdns.org and create an account.
- Follow the instructions to set up a domain name.
- Install the DuckDNS client on your Raspberry Pi by following the instructions provided on the website.
With DDNS set up, you should now be able to access your Raspberry Pi using a consistent domain name.
Security Considerations
Security is a big deal when it comes to setting up VNC on a Raspberry Pi, especially if you're accessing it from an outside network. You don't want unauthorized users gaining access to your device, so it's important to take some precautions. From setting strong passwords to using encryption, there are several steps you can take to ensure your Raspberry Pi is secure.
Setting Strong Passwords
One of the simplest and most effective ways to secure your Raspberry Pi is by setting strong passwords. This means using a combination of uppercase and lowercase letters, numbers, and special characters. Avoid using common words or phrases, and make sure your password is at least 8 characters long.
Using Encryption
Another important security measure is using encryption. This ensures that any data transmitted between your Raspberry Pi and the outside network is secure and cannot be intercepted by unauthorized users. RealVNC supports encryption out of the box, so make sure it's enabled.
Troubleshooting Common Issues
Even with the best-laid plans, things can sometimes go wrong. If you're having trouble setting up VNC on your Raspberry Pi, don't panic. There are several common issues that can arise, and we're here to help you troubleshoot them.
Connection Issues
If you're having trouble connecting to your Raspberry Pi, the first thing to check is your router settings. Make sure port forwarding is set up correctly and that your DDNS service is working properly. Also, double-check that your Raspberry Pi is connected to the internet and that the VNC server is running.
Performance Issues
Sometimes, you might experience performance issues when using VNC. This can be caused by a variety of factors, from a slow internet connection to an overloaded Raspberry Pi. To improve performance, try reducing the screen resolution or disabling certain features, such as desktop effects.
Advanced Tips and Tricks
Once you've got the basics down, there are several advanced tips and tricks you can use to enhance your VNC experience. From automating tasks to customizing your setup, these tips will help you get the most out of your Raspberry Pi VNC setup.
Automating Tasks
Automation can save you a ton of time and effort. Whether you're automating routine tasks or setting up scripts to run at specific times, there are several tools and techniques you can use. Check out tools like cron and systemd for more information.
Customizing Your Setup
Customizing your VNC setup can make it more efficient and user-friendly. This might involve setting up custom keyboard shortcuts, changing the desktop environment, or configuring specific settings to suit your needs. Don't be afraid to experiment and find what works best for you.
Conclusion
So there you have it, folks. A comprehensive guide on how to VNC from Raspberry Pi to an outside network. From setting up VNC to configuring your router and ensuring security, we've covered it all. Remember, the key to success is taking it one step at a time and not being afraid to ask for help if you need it.
Now, it's your turn. Take what you've learned and put it into practice. Whether you're a seasoned pro or just starting out, there's always something new to learn. So, go ahead, dive in, and see what you can accomplish. And don't forget to leave a comment or share this article with your friends and colleagues. Together, we can make the tech world a better place!
- Is Shaq Married The Untold Story Behind The Big Diesels Love Life
- Seinfeld Height The Inside Scoop On Tvs Favorite Comedian

VNC Remote access a Raspberry Pi — Raspberry Pi Official Magazine

Remote control your Raspberry Pi from your PC with VNC! Howto
How to Enable and Setup Raspberry Pi VNC? TechSphinx
