Raspberry Pi Firewall Open Port: Your Ultimate Guide To Secure Networking
Hey there, tech enthusiasts! If you're diving into the world of Raspberry Pi and want to master the art of opening ports securely, you're in the right place. Raspberry Pi firewall open port is a crucial aspect of setting up your network, especially if you're running servers or applications that require external access. This guide will take you through everything you need to know, step by step, so buckle up and let's get started!
When it comes to networking, opening ports on a Raspberry Pi might seem intimidating at first, but trust me, it’s not as scary as it sounds. Think of it like unlocking a door to let your friends in while still keeping the bad guys out. That’s where the firewall comes in – it’s your digital bouncer, ensuring only the right people gain access.
But why should you care? Well, if you’re running a web server, hosting a game, or even experimenting with IoT devices, having the right ports open is essential. It’s all about making sure your Raspberry Pi can communicate with the outside world without compromising security. So, let’s dive right into it and make sure you’re set up for success.
- Samantha Middleton Husband The Untold Story You Wonrsquot Believe
- Matthew Le Nevez The Rising Star Redefining Success In The Spotlight
Understanding Raspberry Pi and Its Role in Networking
Before we jump into the nitty-gritty of opening ports, let’s take a moment to understand what makes the Raspberry Pi such a powerful little device. The Raspberry Pi is more than just a mini-computer; it’s a versatile tool that can handle everything from simple home automation to complex server setups.
One of the coolest things about the Raspberry Pi is its ability to act as a network gateway. By configuring your firewall and opening the right ports, you can turn your Pi into a secure and efficient networking powerhouse. Whether you’re running a web server, SSH service, or even a media server, the Raspberry Pi can handle it all.
Why Raspberry Pi Is Perfect for Network Security
- Cost-effective: You don’t need an expensive server to set up a secure network.
- Flexible: The Raspberry Pi can run a variety of operating systems, giving you endless possibilities.
- Community support: With a massive community of developers and enthusiasts, you’ll never run out of resources and tutorials.
So, if you’re looking for a device that can handle the demands of modern networking while keeping your data safe, the Raspberry Pi is your go-to solution. Now, let’s move on to the next step – setting up your firewall.
- Kenny Smith Allstar The Journey Achievements And Legacy
- What Is Data Visualization In Iot Unlocking The Power Of Connected Insights
Setting Up a Firewall on Your Raspberry Pi
A firewall is like a security guard for your network, ensuring that only authorized traffic gets through. Setting one up on your Raspberry Pi is easier than you think, and it’s a crucial step in securing your system.
The most common firewall tool used on Linux-based systems, including Raspberry Pi, is iptables. This powerful tool allows you to define rules that control incoming and outgoing traffic. But don’t worry if you’re not a networking guru – we’ll break it down for you.
Installing and Configuring Iptables
First things first, you’ll need to install iptables on your Raspberry Pi. If you’re using Raspbian or any other Debian-based distribution, you can do this with a simple command:
sudo apt-get update && sudo apt-get install iptables
Once installed, you can start configuring your firewall rules. Here’s a quick example of how to block all incoming traffic except for specific ports:
sudo iptables -A INPUT -p tcp --dport 22 -j ACCEPT
sudo iptables -A INPUT -j DROP
This setup allows SSH traffic on port 22 while blocking everything else. You can customize these rules based on your specific needs, ensuring that only the necessary ports are open.
Raspberry Pi Firewall Open Port: Best Practices
Now that you have a basic understanding of how firewalls work on Raspberry Pi, let’s talk about best practices. Opening ports is essential, but it’s equally important to do it safely.
Here are a few tips to keep in mind:
- Only open the ports you absolutely need.
- Use strong passwords and authentication methods.
- Regularly update your system to patch any security vulnerabilities.
By following these guidelines, you can ensure that your Raspberry Pi remains secure while still allowing the necessary traffic to flow through.
Choosing the Right Ports to Open
Not all ports are created equal. Some are commonly used for specific services, while others might be less secure. Here’s a quick rundown of some popular ports and their uses:
- Port 22: SSH (Secure Shell)
- Port 80: HTTP (Web Server)
- Port 443: HTTPS (Secure Web Server)
- Port 25: SMTP (Email Server)
When deciding which ports to open, consider the services you’re running and the level of security required. For example, if you’re running a web server, you’ll need to open ports 80 and 443. But if you’re only using SSH, you can stick with port 22.
Advanced Firewall Techniques for Raspberry Pi
Once you’ve mastered the basics, it’s time to level up your firewall skills. There are several advanced techniques you can use to enhance the security of your Raspberry Pi network.
One such technique is using fail2ban, a tool that monitors your system logs and bans IP addresses that show malicious signs – such as too many failed login attempts. This can significantly reduce the risk of brute-force attacks on your open ports.
Integrating Fail2ban with Your Firewall
To install fail2ban on your Raspberry Pi, simply run the following command:
sudo apt-get install fail2ban
Once installed, you can configure it to work with your existing firewall rules. For example, you can set it to ban IP addresses that attempt to access your SSH port too many times:
sudo nano /etc/fail2ban/jail.local
From there, you can customize the settings to fit your needs. With fail2ban in place, your Raspberry Pi will be even more secure, ensuring that only legitimate traffic gets through.
Troubleshooting Common Issues
Even the best-laid plans can sometimes go awry. If you’re having trouble with your Raspberry Pi firewall or opening ports, here are a few common issues and how to fix them:
- Firewall rules not saving: Make sure to save your iptables rules so they persist after a reboot.
- Port not opening: Double-check your firewall rules and ensure that the service you’re trying to access is running.
- Security concerns: Regularly review your firewall logs to identify and address any potential threats.
By staying vigilant and addressing issues as they arise, you can keep your Raspberry Pi network running smoothly and securely.
Logging and Monitoring Your Firewall
One of the best ways to ensure the security of your Raspberry Pi is to log and monitor your firewall activity. This allows you to see who’s trying to access your system and take action if necessary.
You can enable logging in iptables by adding the following rule:
sudo iptables -A INPUT -j LOG --log-prefix "IPTables-Dropped: "
This will log all dropped packets, giving you valuable insights into potential threats. Regularly reviewing these logs can help you identify and mitigate security risks before they become serious problems.
Real-World Applications of Raspberry Pi Firewall Open Port
Now that you have a solid understanding of how to set up and manage your Raspberry Pi firewall, let’s look at some real-world applications. Whether you’re running a home server, hosting a website, or experimenting with IoT devices, the Raspberry Pi can handle it all.
For example, if you’re running a web server, you’ll need to open ports 80 and 443 to allow HTTP and HTTPS traffic. If you’re hosting a game server, you’ll need to open the specific ports required by the game. The possibilities are endless, and with the right firewall configuration, you can ensure that your Raspberry Pi is both secure and functional.
Case Study: Setting Up a Home Media Server
Let’s say you want to set up a home media server using your Raspberry Pi. To do this, you’ll need to open the necessary ports for your media server software, such as Plex or Kodi.
For Plex, you’ll need to open port 32400. For Kodi, you might need to open ports 8080 and 9090, depending on your setup. By carefully configuring your firewall rules, you can ensure that your media server is accessible while still keeping your network secure.
Staying Secure in the Digital Age
In today’s digital landscape, security is more important than ever. Whether you’re a hobbyist or a professional, understanding how to configure and manage your Raspberry Pi firewall is a crucial skill.
By following the best practices outlined in this guide, you can ensure that your Raspberry Pi remains a secure and reliable part of your network. Remember to regularly update your system, monitor your logs, and stay informed about the latest security threats.
Final Thoughts and Call to Action
And there you have it – your ultimate guide to Raspberry Pi firewall open port! I hope this article has given you the knowledge and confidence to set up and manage your Raspberry Pi network securely.
Now it’s your turn! Take what you’ve learned and apply it to your own projects. Whether you’re running a web server, hosting a game, or experimenting with IoT devices, the Raspberry Pi can handle it all. And don’t forget to leave a comment or share this article if you found it helpful!
Thanks for reading, and happy tinkering!
Table of Contents
- Raspberry Pi Firewall Open Port: Your Ultimate Guide to Secure Networking
- Understanding Raspberry Pi and Its Role in Networking
- Why Raspberry Pi Is Perfect for Network Security
- Setting Up a Firewall on Your Raspberry Pi
- Installing and Configuring Iptables
- Raspberry Pi Firewall Open Port: Best Practices
- Choosing the Right Ports to Open
- Advanced Firewall Techniques for Raspberry Pi
- Integrating Fail2ban with Your Firewall
- Troubleshooting Common Issues
- Logging and Monitoring Your Firewall
- Real-World Applications of Raspberry Pi Firewall Open Port
- Case Study: Setting Up a Home Media Server
- Staying Secure in the Digital Age
- Final Thoughts and Call to Action
- Melina Goranssen The Rising Star Taking The World By Storm
- Seinfeld Height The Inside Scoop On Tvs Favorite Comedian

Raspberry Pi Have a Firewall? Discover the Truth! MaidaTech
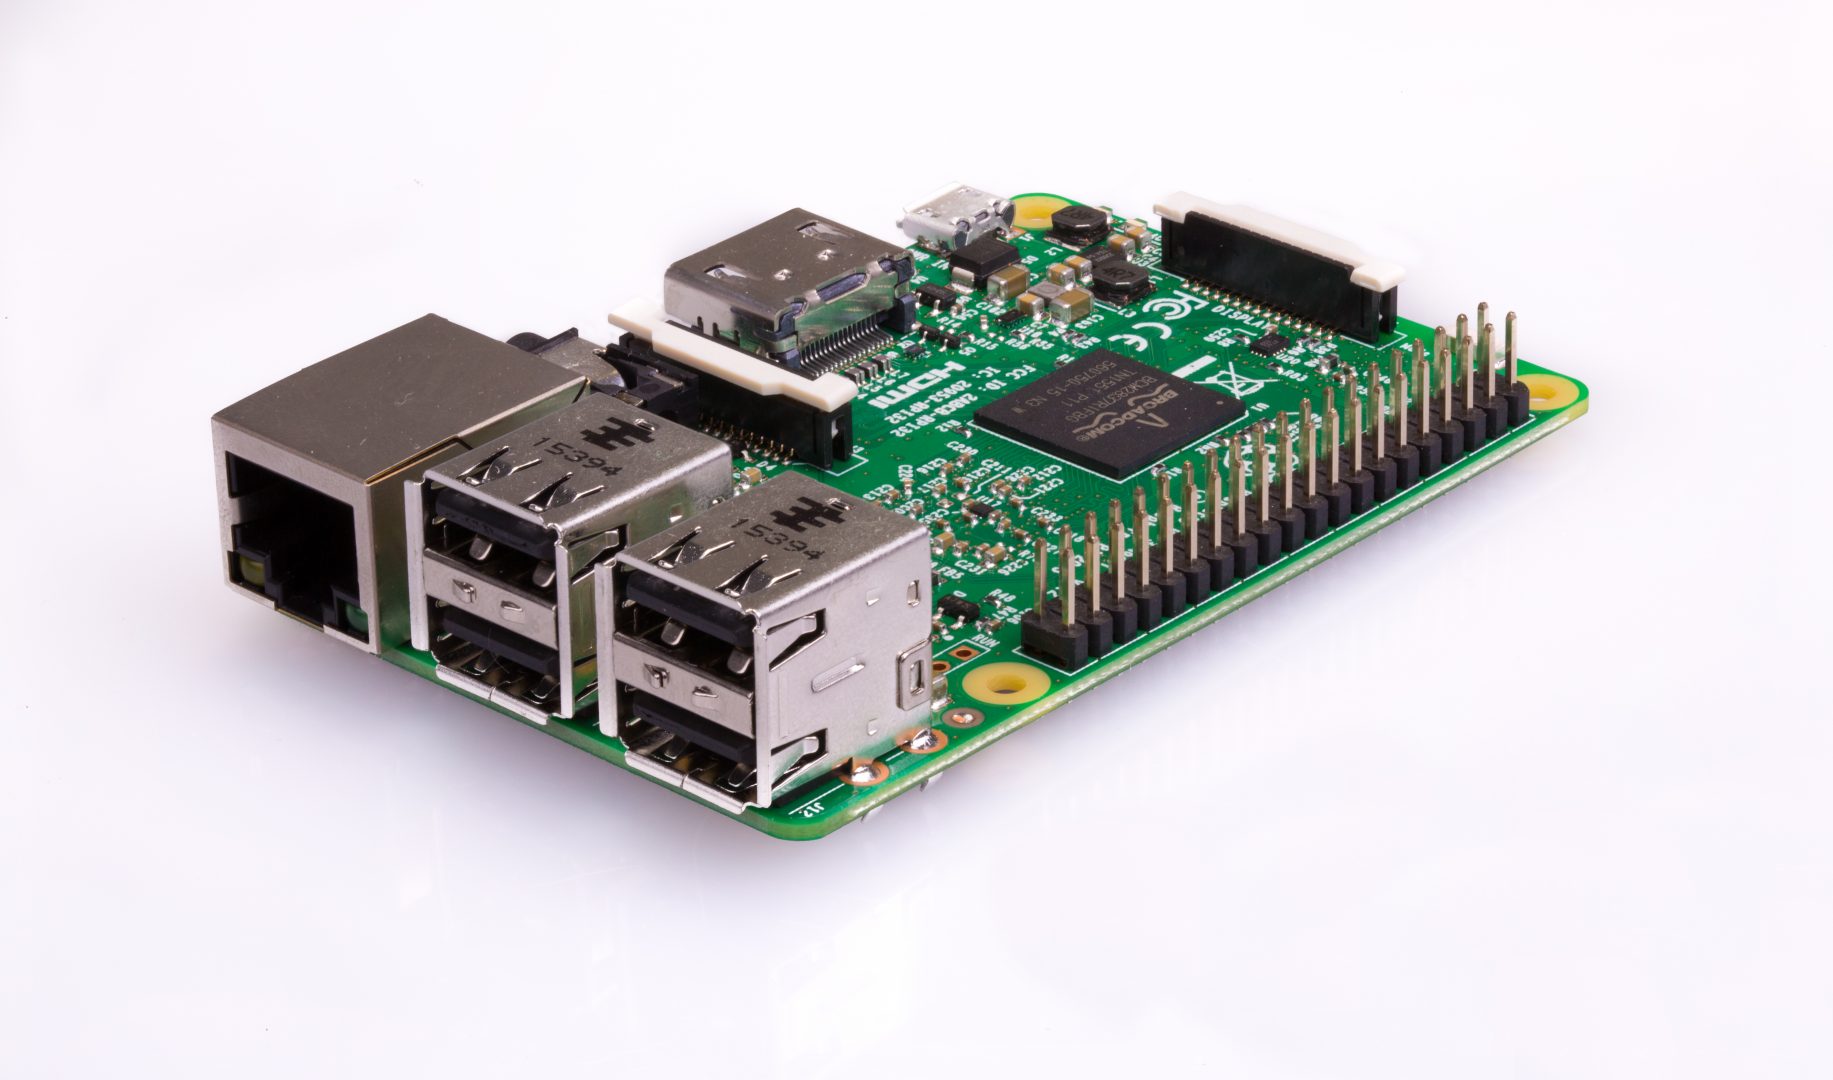
Raspberry Pi 3 Model B Raspberry Pi
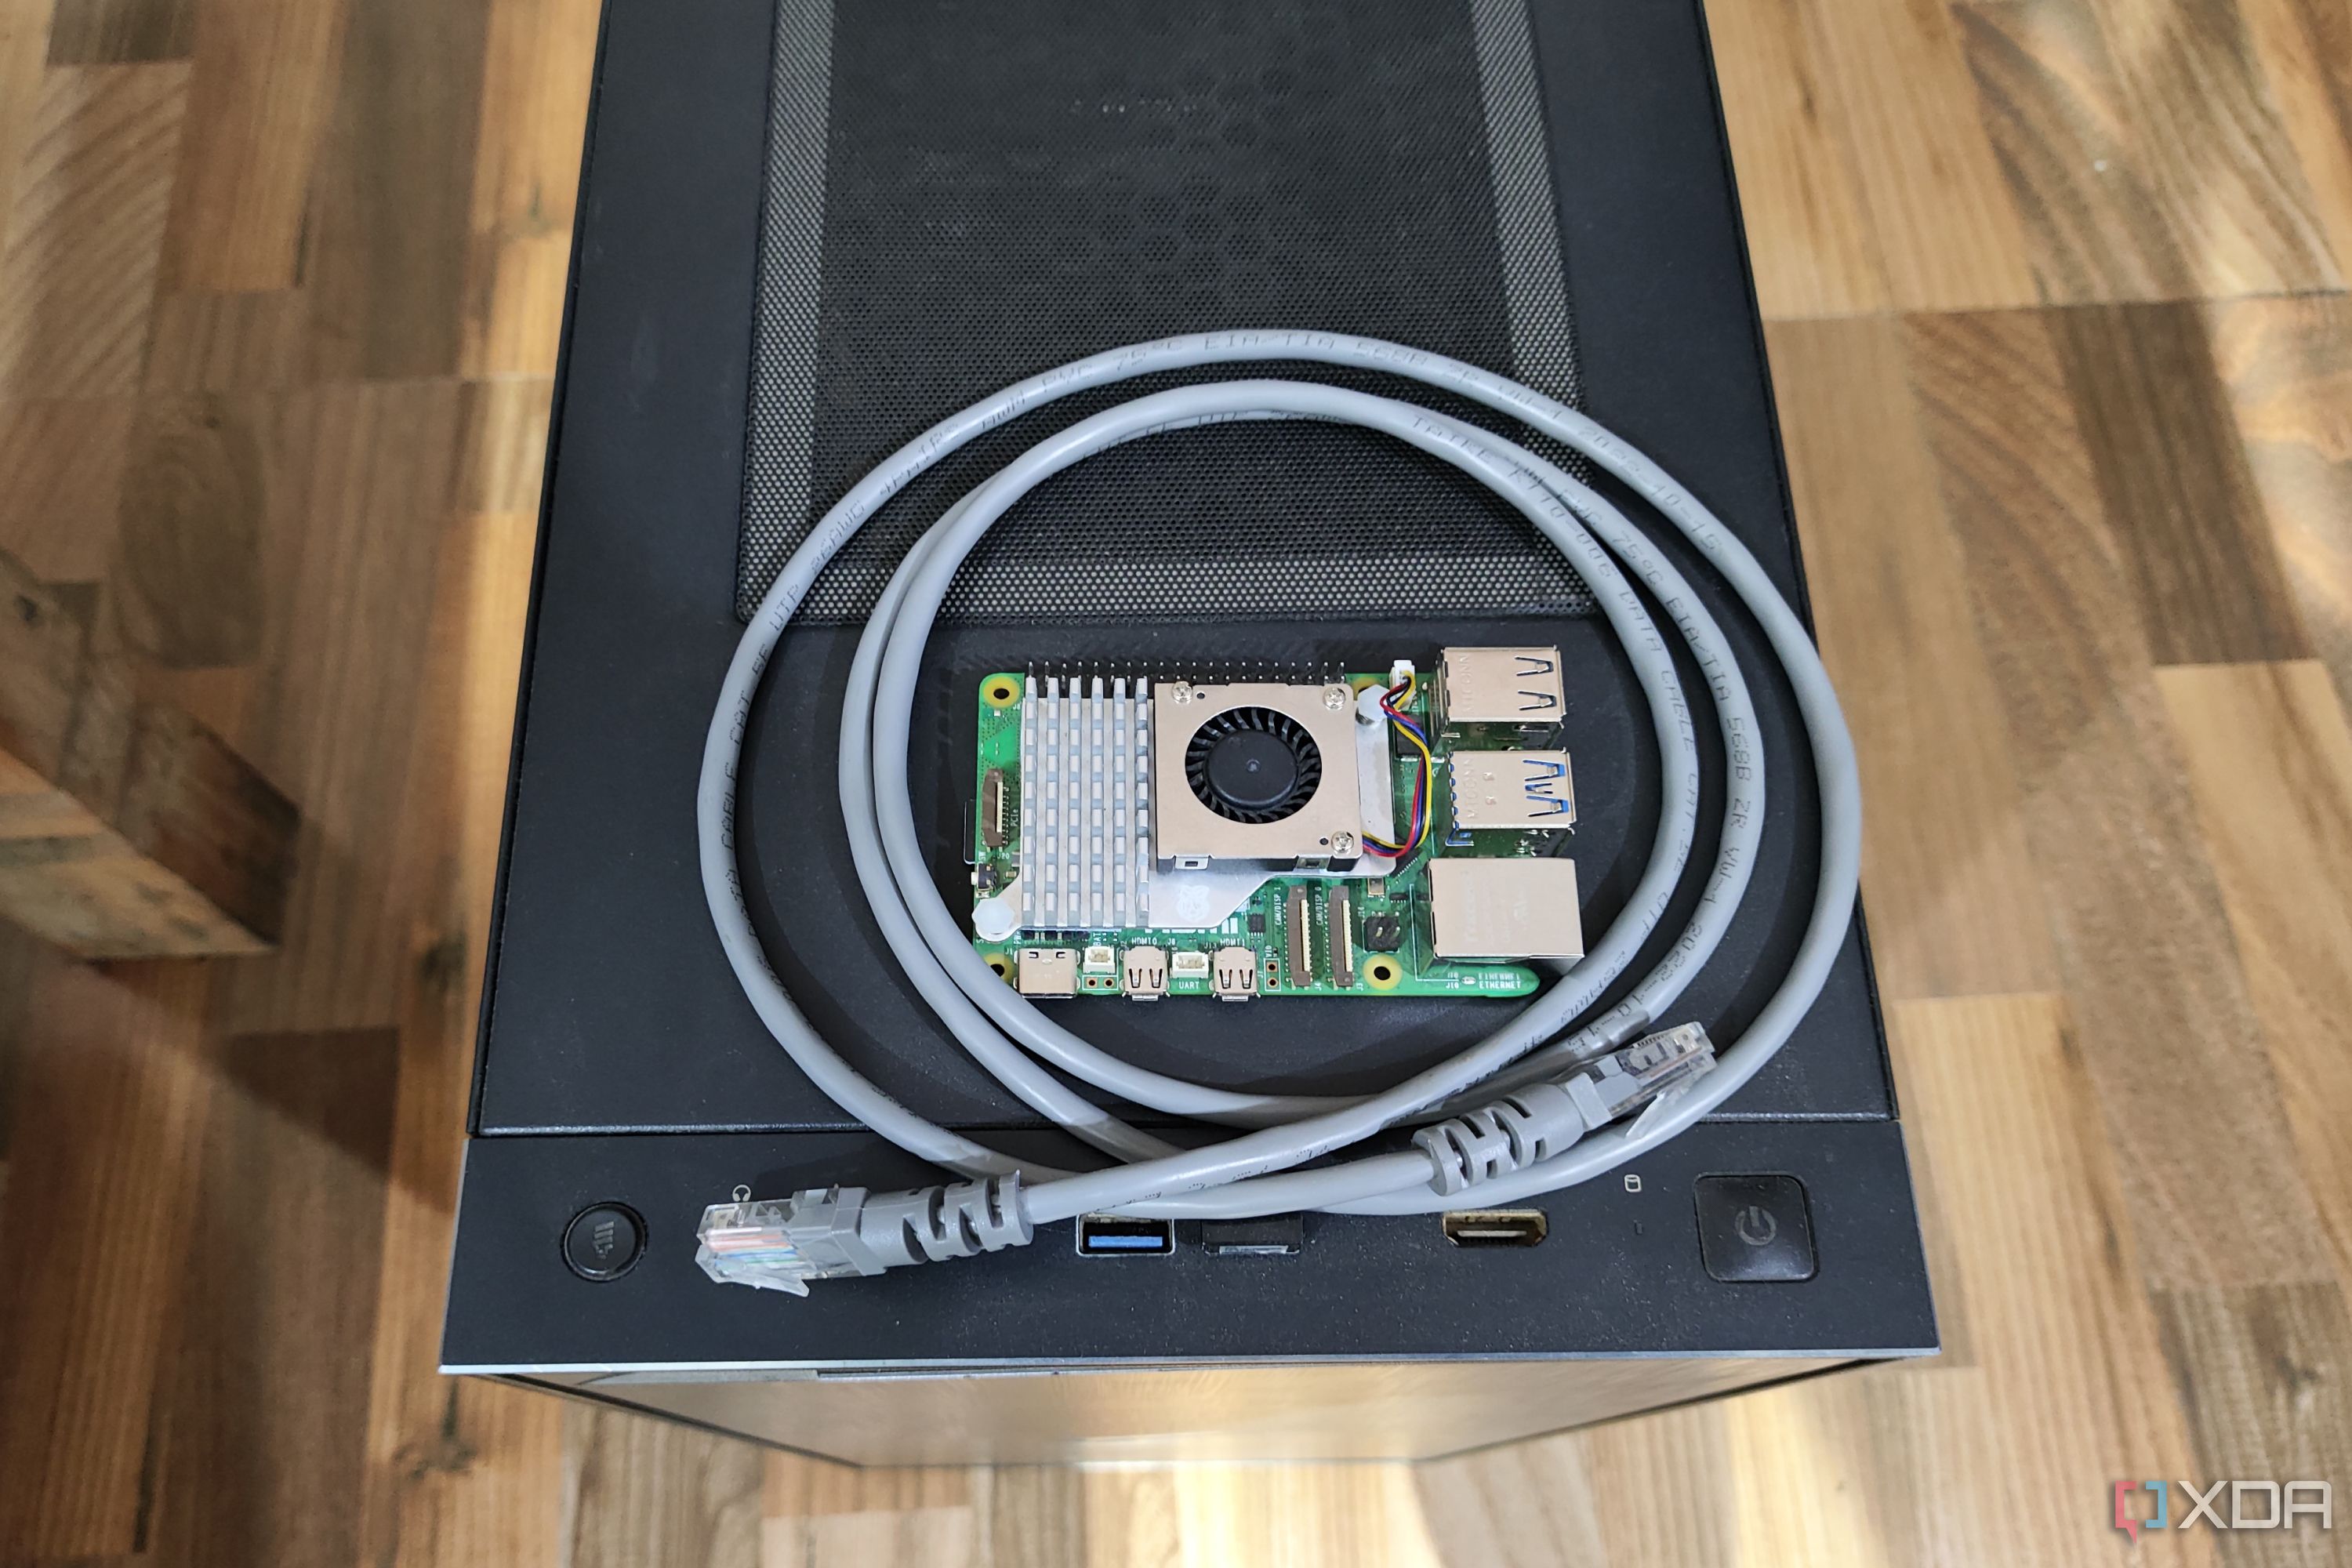
How to protect your home network with a Raspberry Pi firewall
