Raspberry Pi VNC Outside Network Free: The Ultimate Guide To Remote Access
Listen up, folks! If you're diving into the world of Raspberry Pi and exploring remote access, you've probably stumbled upon the term "Raspberry Pi VNC outside network free." This setup can be a game-changer for hobbyists, developers, and tech enthusiasts alike. Imagine being able to control your Raspberry Pi from anywhere in the world without shelling out big bucks for premium services. Sounds awesome, right? Well, buckle up because we're about to break it all down for you!
Let's be real here – remote access is no longer just a luxury but a necessity. With the rise of remote work and IoT projects, having a reliable way to connect to your Raspberry Pi from outside your home network is more important than ever. And guess what? You don't need to spend a fortune to make it happen. In this guide, we'll show you how to set up VNC on your Raspberry Pi for free and access it securely from anywhere.
Now, before we dive deep into the nitty-gritty, let me emphasize that this guide isn't just another tech article. We're going to walk you through every step, share some pro tips, and even throw in a few troubleshooting tricks to ensure your setup runs smoothly. So, whether you're a beginner or a seasoned Pi enthusiast, there's something here for everyone. Ready? Let's get started!
- Is Shaq Married The Untold Story Behind The Big Diesels Love Life
- Jackerman Video The Ultimate Guide To Mastering The Viral Sensation
What is Raspberry Pi VNC?
Alright, let’s clear the air. Raspberry Pi VNC is essentially a way to remotely control your Raspberry Pi using a graphical interface. VNC stands for Virtual Network Computing, and it allows you to see and interact with your Pi's desktop as if you were sitting right in front of it. Cool, huh? And the best part? You can do all this for free if you set it up correctly.
Here’s the kicker: VNC isn’t just limited to your home network. With a little tweaking, you can access your Raspberry Pi from anywhere in the world. This opens up endless possibilities, from managing home automation systems to running remote servers. And trust me, once you’ve got it set up, you’ll wonder how you ever lived without it.
Why Choose Raspberry Pi VNC?
There are plenty of reasons why Raspberry Pi VNC is a top choice for remote access. First off, it’s incredibly user-friendly. Even if you’re not a tech wizard, you can get it up and running with minimal effort. Plus, it’s super lightweight, which means it won’t slow down your Pi or hog your bandwidth.
- How Much Is Jonathan Majors Worth Unpacking The Stars Rising Net Worth
- Melina Goranssen The Rising Star Taking The World By Storm
Another big plus is compatibility. VNC works seamlessly with almost any device – be it a Windows PC, Mac, Linux machine, or even your smartphone. So, no matter where you are or what device you’re using, you can always stay connected to your Pi. Now that’s what I call flexibility!
Setting Up Raspberry Pi VNC Outside Network Free
Alright, let’s get our hands dirty. Setting up Raspberry Pi VNC outside your network for free involves a few key steps. Don’t worry – we’ll break it down step-by-step so you won’t get lost. By the end of this section, you’ll have a fully functional remote access setup that’s both secure and reliable.
Step 1: Install VNC Server on Raspberry Pi
First things first, you’ll need to install the VNC server on your Raspberry Pi. This is the software that allows you to remotely access your Pi’s desktop. Here’s how you do it:
- Boot up your Raspberry Pi and open the terminal.
- Type
sudo apt updateto update your package list. - Next, type
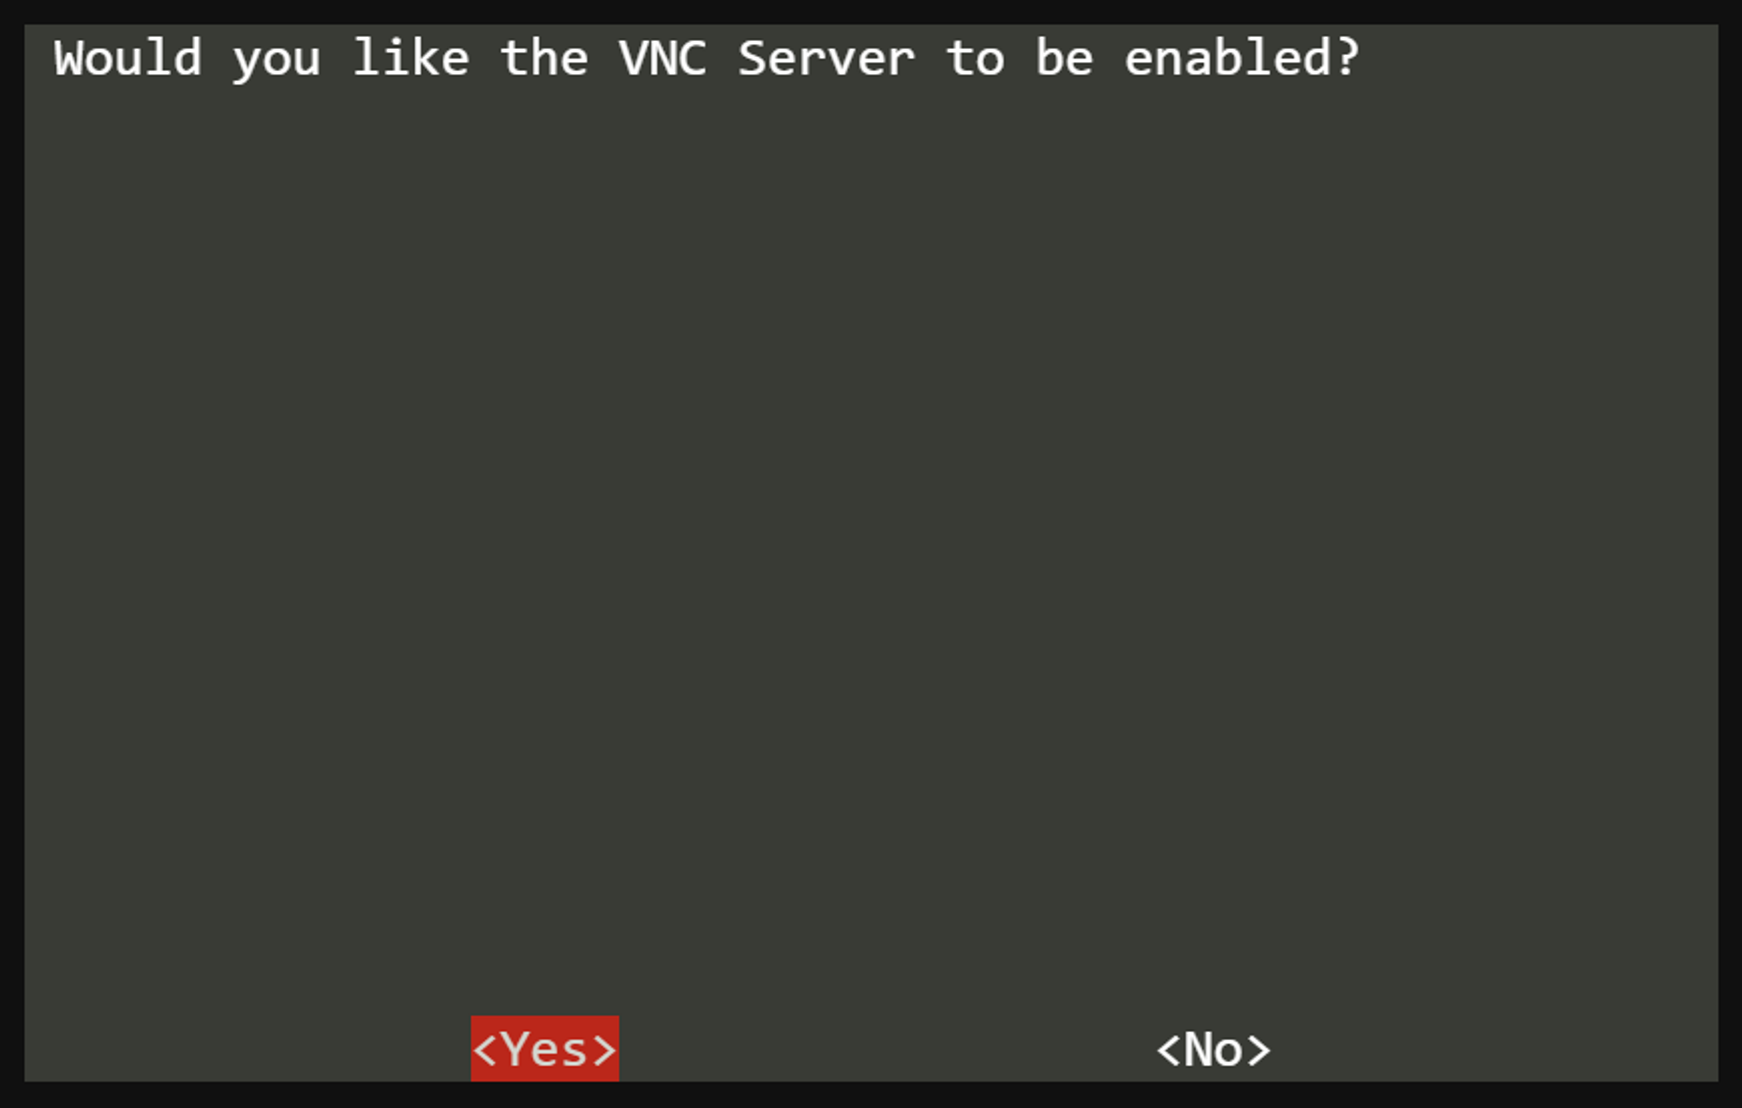
sudo apt install realvnc-vnc-serverto install the VNC server. - Once installed, enable VNC by heading to the Raspberry Pi Configuration tool (
sudo raspi-config) and selecting Interfacing Options > VNC.
Boom! You’ve got the VNC server up and running on your Pi. Easy peasy, right?
Step 2: Configure Port Forwarding
Now, here’s where things get a little tricky – port forwarding. To access your Raspberry Pi from outside your home network, you’ll need to configure your router to forward incoming VNC traffic to your Pi. Here’s how:
- Log in to your router’s admin interface. This usually involves typing your router’s IP address into a browser (e.g., 192.168.0.1).
- Find the port forwarding section. It might be labeled differently depending on your router, but it’s usually under Advanced Settings or Firewall.
- Add a new port forwarding rule. Set the external port to 5900 (the default VNC port) and the internal IP address to your Raspberry Pi’s IP address.
Pro tip: If you’re unsure about your Pi’s IP address, you can find it by typing ifconfig in the terminal.
Step 3: Set Up Dynamic DNS (DDNS)
Here’s another important step – setting up Dynamic DNS (DDNS). Your home IP address might change periodically, which can mess up your remote access. DDNS solves this by assigning a static domain name to your dynamic IP. Here’s what you do:
- Sign up for a free DDNS service like No-IP or DuckDNS.
- Follow their instructions to link your home IP address to a domain name.
- Configure your router to automatically update the DDNS service whenever your IP changes.
With DDNS in place, you’ll always have a reliable way to connect to your Pi, even if your IP address changes.
Securing Your Raspberry Pi VNC Connection
Listen up, security is no joke. When you’re accessing your Raspberry Pi from outside your network, you need to make sure everything is locked down tight. Here are a few tips to keep your setup secure:
Enable Strong Passwords
First and foremost, use strong passwords for both your Raspberry Pi and your VNC server. Avoid using common passwords like "123456" or "password." Instead, go for something complex with a mix of letters, numbers, and symbols.
Use SSH Tunneling
SSH tunneling is another great way to secure your VNC connection. By wrapping your VNC traffic in an SSH tunnel, you encrypt everything and make it much harder for hackers to intercept. Here’s how you set it up:
- Install an SSH client on your remote device.
- Create an SSH tunnel by typing
ssh -L 5900:localhost:5900 pi@your-pi-ipin the terminal. - Connect to VNC through the SSH tunnel instead of directly over the internet.
It might sound complicated, but trust me, it’s worth the extra effort for the added security.
Limit Access with Firewall Rules
Another layer of security is to limit who can access your Raspberry Pi. Use firewall rules to only allow VNC connections from specific IP addresses or ranges. This way, even if someone gets your DDNS domain, they won’t be able to connect unless they’re on the right network.
Troubleshooting Common Issues
Let’s face it – things don’t always go smoothly the first time. Here are some common issues you might encounter when setting up Raspberry Pi VNC outside your network and how to fix them:
Issue 1: Can’t Connect to VNC
If you can’t connect to your VNC server, double-check your port forwarding settings. Make sure the external port is set to 5900 and the internal IP matches your Raspberry Pi’s address. Also, verify that the VNC server is running on your Pi by typing vncserver in the terminal.
Issue 2: Slow Connection
Got a slow VNC connection? Try tweaking the settings in the VNC client. Lowering the color depth or disabling desktop effects can significantly improve performance. You can also consider upgrading your internet plan if bandwidth is the bottleneck.
Issue 3: Security Alerts
If you’re getting security alerts, chances are your password isn’t strong enough. Change it immediately and consider enabling two-factor authentication (2FA) if your VNC client supports it. Better safe than sorry!
Advanced Tips for Raspberry Pi VNC
Now that you’ve got the basics down, let’s level up your game with some advanced tips:
Automate DDNS Updates
Instead of manually updating your DDNS service, set up a script to do it automatically. This ensures your domain always points to the right IP, even if your router changes it unexpectedly.
Use a VNC Client with Mobile Support
If you plan to access your Raspberry Pi on the go, make sure your VNC client has mobile support. Apps like RealVNC Viewer for iOS and Android are great options that offer a smooth experience on smaller screens.
Set Up a Headless Raspberry Pi
Why stop at VNC? If you’re feeling adventurous, you can set up your Raspberry Pi to run headless (without a monitor or keyboard). This saves space and power, making it perfect for remote projects. Just make sure you’ve got a solid remote access setup in place.
Real-World Applications of Raspberry Pi VNC
So, why bother with all this hassle? Well, the possibilities are endless. Here are a few real-world applications of Raspberry Pi VNC:
Home Automation
Use your Raspberry Pi to control smart home devices like lights, thermostats, and security cameras. With VNC, you can manage everything from anywhere in the world.
Remote Workstations
Set up a Raspberry Pi as a lightweight workstation and access it from your main computer. Perfect for running lightweight apps or testing software in a sandbox environment.
IoT Projects
Raspberry Pi VNC is a great tool for managing IoT projects remotely. Whether you’re monitoring sensors, controlling robots, or running data analytics, VNC gives you full control from anywhere.
Conclusion
And there you have it – the ultimate guide to setting up Raspberry Pi VNC outside your network for free. By following the steps we’ve outlined, you can enjoy seamless remote access to your Pi without breaking the bank. Remember, security is key, so always take the necessary precautions to protect your setup.
Before you go, here’s a quick recap of what we’ve covered:
- Install and configure the VNC server on your Raspberry Pi.
- Set up port forwarding on your router to allow external access.
- Use DDNS to ensure reliable connections even with dynamic IPs.
- Secure your setup with strong passwords, SSH tunneling, and firewall rules.
Now it’s your turn! Take what you’ve learned and put it into practice. And don’t forget to leave a comment below sharing your experience or asking any questions. Happy Pi-ing, folks!
Table of Contents
- What is Raspberry Pi VNC?
- Why Choose Raspberry Pi VNC?
- Setting Up Raspberry Pi VNC Outside Network Free
- Configure Port Forwarding
- Set Up Dynamic DNS (DDNS)
- Securing Your Raspberry Pi VNC Connection
- Troubleshooting Common Issues
- Advanced Tips for Raspberry Pi VNC
- Real-World Applications of Raspberry Pi VNC
- Conclusion
- Alanna Masterson Relationship The Inside Scoop On Love Life And Everything In Between
- Kenny Smith Allstar The Journey Achievements And Legacy

VNC Remote access a Raspberry Pi — Raspberry Pi Official Magazine

Remote control your Raspberry Pi from your PC with VNC! Howto
Take Control Remotely with Raspberry Pi VNC
