Raspberry Pi As Router Firewall Tutorial: Your Ultimate Guide To Building A Secure Network
Are you tired of paying for expensive routers that don't even give you the control you need? Well, buckle up because today we're diving into the world of Raspberry Pi as a router firewall. This little device is more powerful than you think, and with a bit of tinkering, you can turn it into your very own network guardian. Not only will you save money, but you'll also gain the satisfaction of knowing exactly what's happening in your network.
Let's face it, modern routers are like black boxes. You have no idea what's going on inside, and the firmware updates often leave you scratching your head. But with Raspberry Pi, you get complete control. This tutorial will guide you step-by-step through setting up your Raspberry Pi as a router with firewall capabilities. We'll cover everything from the hardware you need to the software setup, so even if you're new to this, you'll be fine.
Whether you're a tech enthusiast looking for a fun project or a homeowner wanting to secure your network, this Raspberry Pi as router firewall tutorial has got you covered. So grab your Pi, a cup of coffee, and let's get started on this journey to network mastery.
- Melina Goranssen The Rising Star Taking The World By Storm
- Whats The Real Deal Behind The Upside Down Flag Meaning Lets Dive In
Why Use Raspberry Pi as a Router Firewall?
Before we dive into the nitty-gritty of setting up Raspberry Pi as a router firewall, let's talk about why you'd even consider doing this. The Raspberry Pi is not just a cute little device for hobbyists; it's a powerhouse that can handle serious tasks, including routing and firewall management.
First off, it's cost-effective. You can build a fully functional router for a fraction of the price of commercial options. Plus, you get the flexibility to customize it exactly how you want. Need more security features? No problem. Want to monitor traffic in detail? Done. The Raspberry Pi gives you the freedom to tailor your network setup to your specific needs.
Another great advantage is the learning experience. Setting up Raspberry Pi as a router firewall isn't just about building a device; it's about understanding how networks work, how data flows, and how to secure it. It's a hands-on way to boost your networking skills, which can be invaluable in today's digital world.
- Seinfeld Height The Inside Scoop On Tvs Favorite Comedian
- Is Shaq Married The Untold Story Behind The Big Diesels Love Life
Hardware Requirements for Raspberry Pi Router
Alright, let's talk hardware. To set up your Raspberry Pi as a router firewall, you'll need a few basic components. First and foremost, you need a Raspberry Pi board. The Raspberry Pi 4 Model B is a great choice due to its performance and Ethernet capabilities.
- Raspberry Pi board (preferably Pi 4 for better performance)
- MicroSD card (16GB or more, preferably Class 10 for speed)
- Power supply (official Raspberry Pi power adapter recommended)
- Ethernet cables (at least two, one for WAN and one for LAN)
- Optional: WiFi dongle if you want wireless capabilities
Make sure all your hardware is compatible and up to the task. The Raspberry Pi is small, but it can handle a lot when properly equipped.
Software Setup: Turning Raspberry Pi into a Router
Now that you've got your hardware sorted, it's time to talk software. The first step is to install an operating system on your Raspberry Pi. Raspbian, now known as Raspberry Pi OS, is the go-to choice for most projects. However, for routing and firewall purposes, you might want to consider specialized distributions like Pi-hole or OpenWrt.
OpenWrt is particularly powerful for this use case. It's a Linux-based firmware that turns your Raspberry Pi into a full-fledged router. The installation process involves downloading the image, writing it to your SD card, and configuring the network settings. Don't worry if it sounds complicated; we'll break it down step-by-step.
Once OpenWrt is installed, you'll need to set up the basic network configuration. This includes assigning IP addresses, setting up DHCP, and configuring the WAN and LAN interfaces. It's like teaching your Pi how to talk to the outside world and how to manage the devices on your local network.
Configuring the Firewall on Raspberry Pi
With your network basics sorted, it's time to lock things down with a firewall. The firewall is your first line of defense against unwanted traffic and potential threats. OpenWrt comes with a built-in firewall tool that makes configuration relatively straightforward.
You'll want to start by setting up basic rules to allow or deny traffic based on your needs. For example, you might want to allow all outgoing traffic but restrict incoming traffic to only necessary services. You can also set up port forwarding if you're running servers on your network.
Advanced users can dive deeper into iptables for more granular control. This allows you to create complex rules and chains to fine-tune your security settings. Remember, a well-configured firewall can make a huge difference in protecting your network.
Step-by-Step Raspberry Pi Router Firewall Tutorial
Alright, let's get down to business with a step-by-step guide to setting up your Raspberry Pi as a router firewall. Follow these instructions carefully, and you'll have your network guardian up and running in no time.
- Download the OpenWrt image and write it to your MicroSD card using a tool like Etcher.
- Insert the MicroSD card into your Raspberry Pi and power it on.
- Access the OpenWrt web interface by connecting to the default IP address (usually 192.168.1.1).
- Set up your initial network configuration, including WAN and LAN settings.
- Configure the DHCP server to assign IP addresses to devices on your network.
- Set up basic firewall rules to control incoming and outgoing traffic.
- Optional: Install additional packages for extra features like intrusion detection or traffic monitoring.
Each step builds on the previous one, so take your time and make sure everything is configured correctly. It's a bit like building a house; you need a strong foundation to support everything else.
Troubleshooting Common Issues
Of course, no project goes perfectly every time. Here are a few common issues you might encounter and how to fix them:
- No internet connection: Double-check your WAN settings and ensure your ISP credentials are correct.
- Devices can't connect: Verify your DHCP settings and make sure your LAN interface is properly configured.
- Firewall blocking everything: Check your firewall rules and ensure you haven't accidentally blocked necessary traffic.
Don't be discouraged if things don't work the first time. Troubleshooting is part of the process, and each issue you solve makes you a better network engineer.
Benefits of Using Raspberry Pi as a Router
Using Raspberry Pi as a router firewall has numerous benefits beyond just cost savings. For one, it gives you unparalleled control over your network. You can monitor traffic, block ads, and even set up parental controls with ease.
Another advantage is the community support. There's a wealth of knowledge available online from other Raspberry Pi enthusiasts who have tackled similar projects. Whether it's forum posts, YouTube tutorials, or detailed guides, you're never alone in your journey.
Finally, there's the satisfaction of building something yourself. Knowing that your network is secure because of your own efforts is incredibly rewarding. It's not just about the end result; it's about the journey and the skills you gain along the way.
Security Considerations
When setting up any router, especially one you've built yourself, security should always be a top priority. Here are a few tips to keep your Raspberry Pi router firewall secure:
- Use strong, unique passwords for all accounts and services.
- Regularly update your firmware and installed packages to patch vulnerabilities.
- Monitor your network for unusual activity and adjust your firewall rules accordingly.
Remember, a secure network is a happy network. Taking these precautions will help protect your data and devices from potential threats.
Conclusion and Call to Action
So there you have it, a comprehensive guide to setting up your Raspberry Pi as a router firewall. From hardware requirements to software setup and beyond, we've covered everything you need to know to build your own network guardian. It might seem like a lot, but trust me, the satisfaction of having a custom-built router is worth every moment.
Now it's your turn to take action. Don't just sit there; grab your Raspberry Pi and start building. And when you're done, come back and share your experience in the comments. Did you run into any issues? Did you add any cool features? We'd love to hear about it.
Remember, the world of networking is vast and ever-changing. Keep learning, keep experimenting, and most importantly, keep building. Who knows, maybe your next project will be even more ambitious. Happy tinkering!
Table of Contents
- Raspberry Pi as Router Firewall Tutorial
- Why Use Raspberry Pi as a Router Firewall?
- Hardware Requirements for Raspberry Pi Router
- Software Setup: Turning Raspberry Pi into a Router
- Configuring the Firewall on Raspberry Pi
- Step-by-Step Raspberry Pi Router Firewall Tutorial
- Troubleshooting Common Issues
- Benefits of Using Raspberry Pi as a Router
- Security Considerations
- Conclusion and Call to Action
- Did Dwayne Johnson Die Debunking The Rumors And Celebrating The Rock
- Jackerman Video The Ultimate Guide To Mastering The Viral Sensation

Tutorial Archives Raspberry Pi

Raspberry Pi Router Firewall Low Orbit Flux
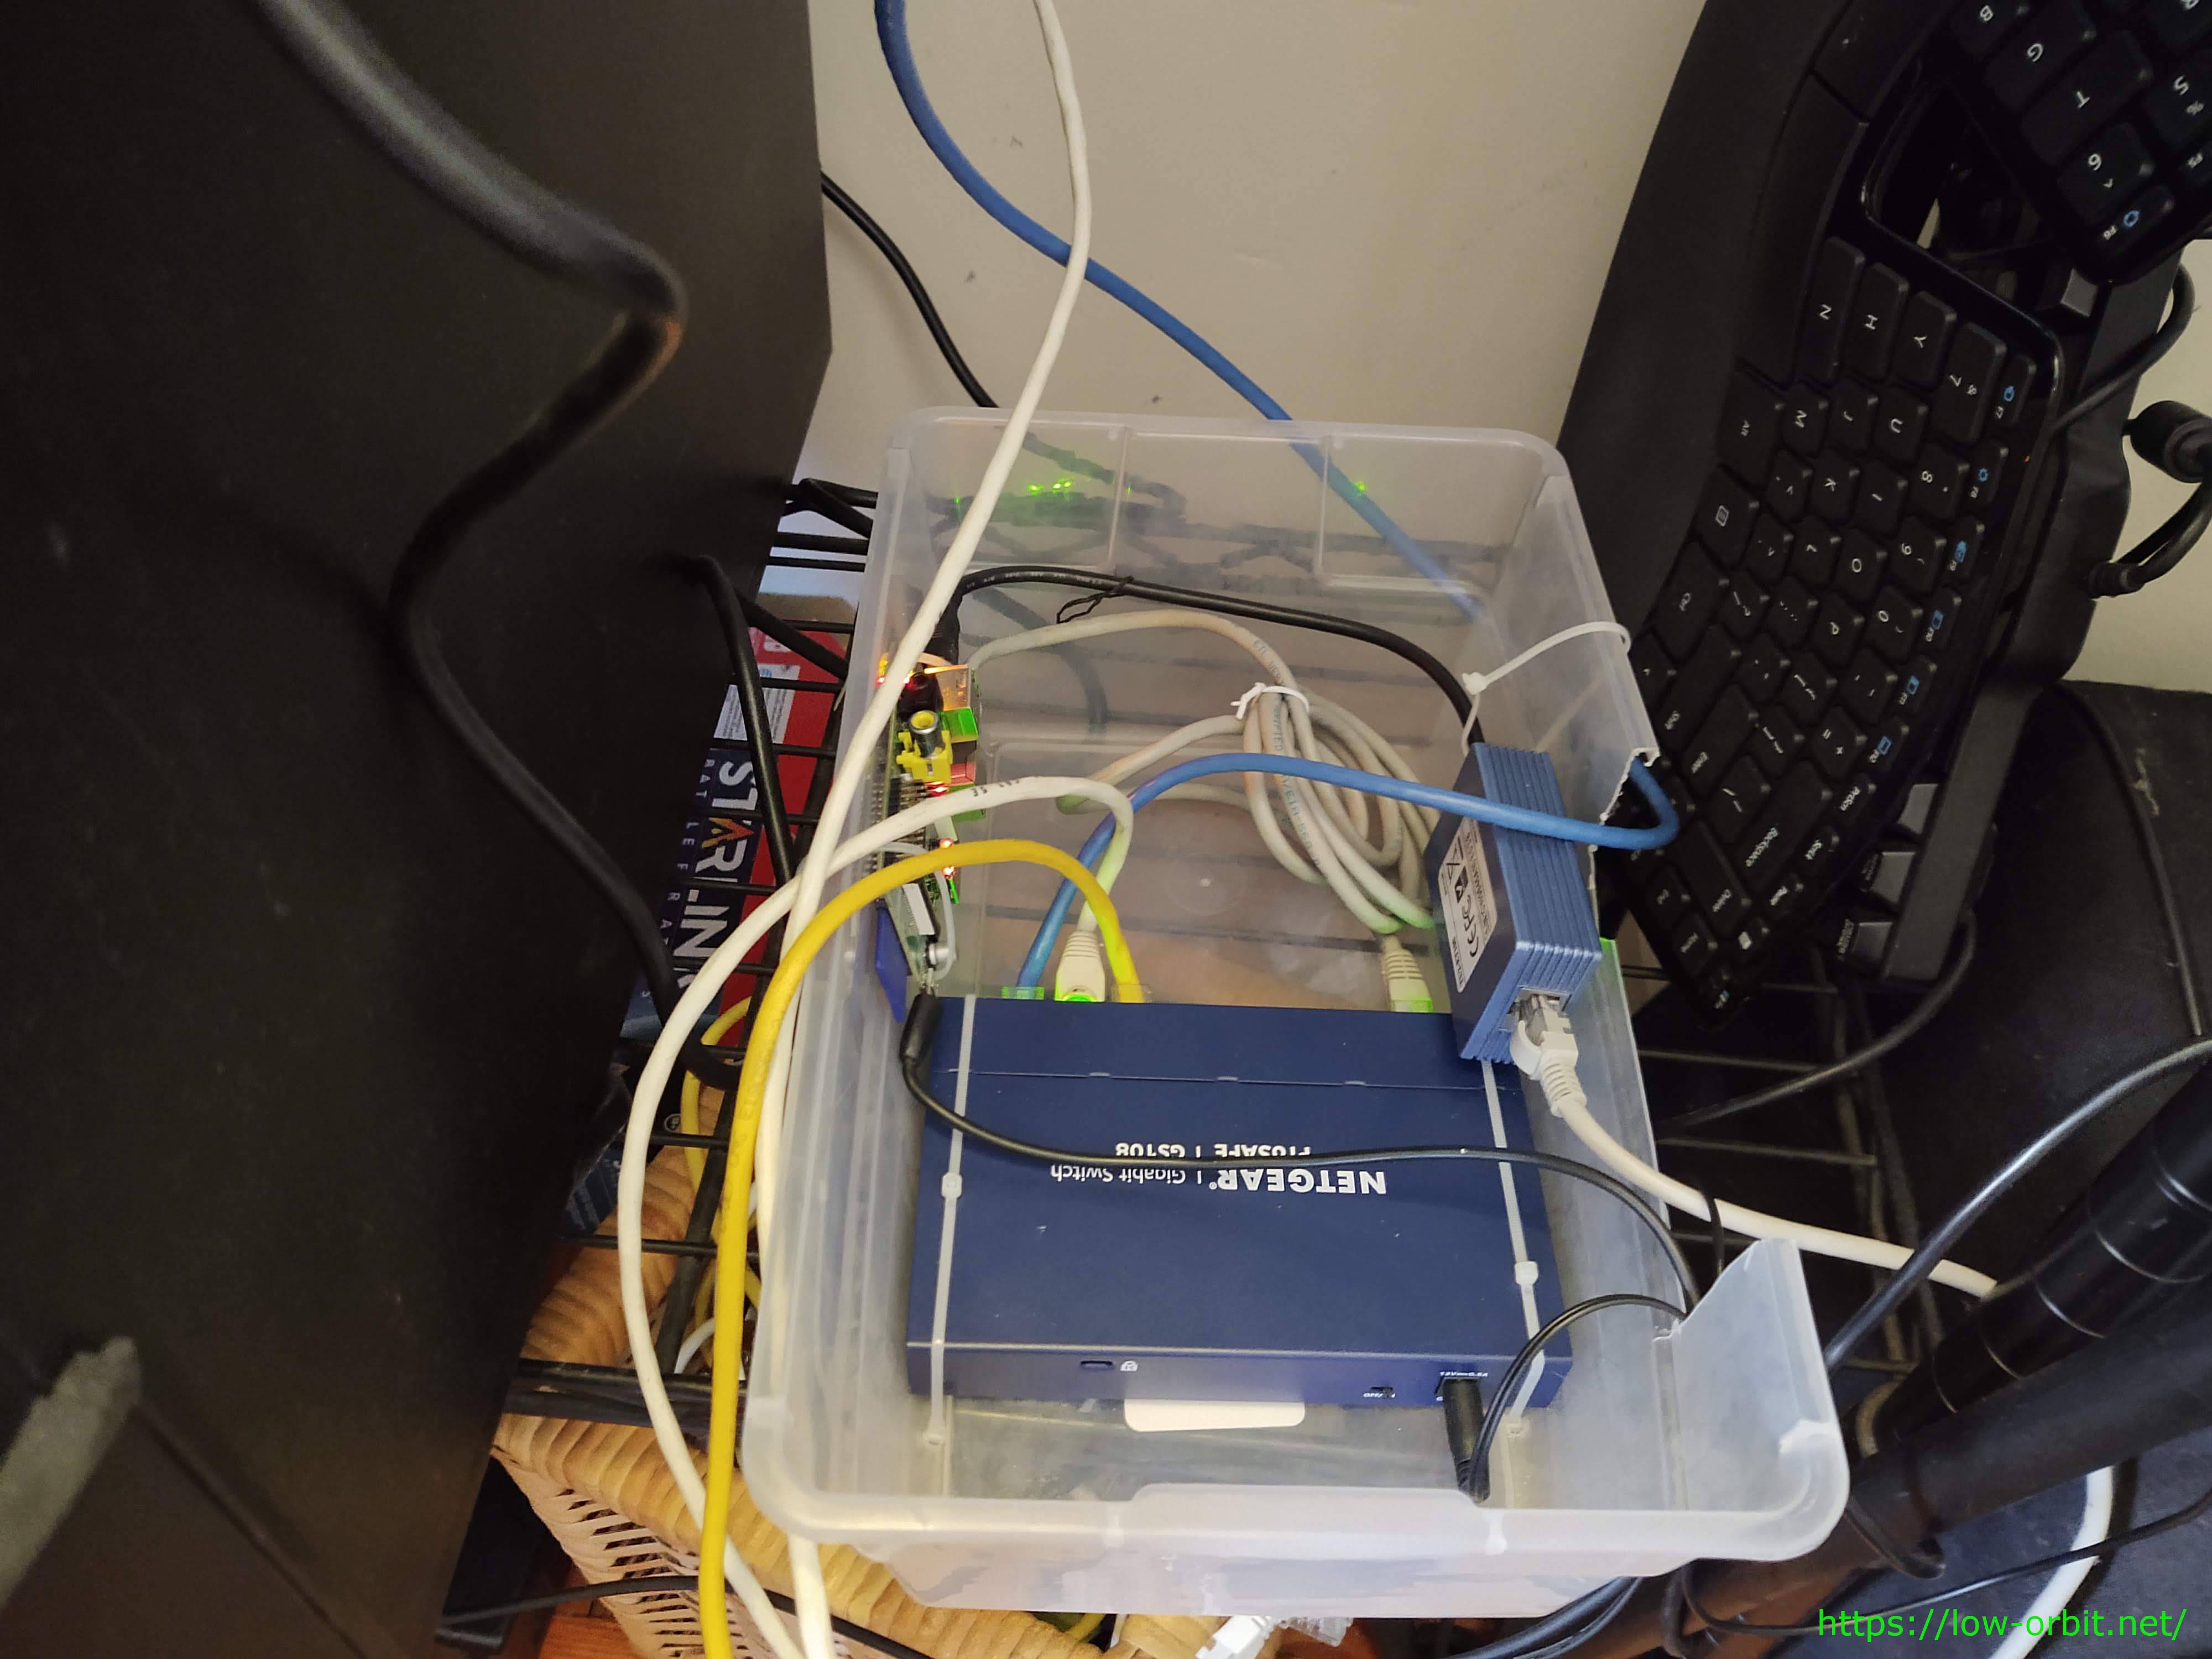
Raspberry Pi Router Firewall Low Orbit Flux
