Mastering Raspberry Pi VNC Over SSH: A Step-by-Step Guide For Tech Enthusiasts
Hey there, tech wizards and curious minds! If you're diving into the world of Raspberry Pi, chances are you've stumbled upon the term "Raspberry Pi VNC over SSH." Let's cut to the chase—this setup is a game-changer for remote control and access to your Pi from anywhere in the world. Whether you're managing servers, running IoT projects, or just tinkering around, mastering this technique is a must-have skill. So, buckle up because we're about to take you on a wild ride through the ins and outs of Raspberry Pi VNC over SSH.
Now, you might be wondering, "What exactly is VNC over SSH, and why should I care?" Great question! Picture this: you're chilling at home, and suddenly you need to tweak your Raspberry Pi project that's set up in your garage or office. Instead of running back and forth, you can remotely access your Pi's graphical interface with ease. VNC over SSH combines the power of Virtual Network Computing (VNC) and Secure Shell (SSH) to create a secure and seamless remote connection experience. And trust me, once you get the hang of it, you'll wonder how you ever lived without it.
In this comprehensive guide, we'll break down everything you need to know about Raspberry Pi VNC over SSH. From setting up the software to troubleshooting common issues, we've got you covered. So, whether you're a seasoned pro or a newbie just getting started with Raspberry Pi, this article is your ultimate cheat sheet. Let's dive in and make your tech dreams a reality!
- Goggins Actor The Rise Of A Fitness Icon In Hollywood
- Luke Nichols Wikipedia A Deep Dive Into The Life And Legacy Of A True Star
Here’s the table of contents to help you navigate through this guide:
- What is VNC?
- Raspberry Pi SSH Basics
- Setting Up VNC on Raspberry Pi
- Configuring SSH for VNC
- Connecting VNC Over SSH
- Common Issues and Solutions
- Performance Tips
- Security Best Practices
- Real-World Applications
- Conclusion
What is VNC? Let's Break It Down
VNC stands for Virtual Network Computing, and it's basically a remote desktop protocol that allows you to control one computer from another. Imagine sitting in your living room and controlling your Raspberry Pi in your office as if you were physically there—cool, right? VNC works by transmitting the screen of the remote computer to your local machine, letting you interact with it just like you would if you were sitting right in front of it.
But here's the deal: VNC, on its own, isn't super secure. That's where SSH comes in. By tunneling VNC through SSH, you encrypt the connection, making it safe from prying eyes. This setup is perfect for Raspberry Pi users who want to access their devices remotely without worrying about security breaches.
- Is Shaq Married The Untold Story Behind The Big Diesels Love Life
- Alanna Masterson Relationship The Inside Scoop On Love Life And Everything In Between
Key Benefits of Using VNC:
- Remote access to your Raspberry Pi's graphical interface.
- Ability to control your Pi from any device with a VNC client.
- Perfect for managing headless setups (no monitor or keyboard needed).
Why Use VNC Over SSH?
Security is a big deal, especially when you're dealing with remote connections. SSH adds an extra layer of protection by encrypting the data transmitted between your local machine and the Raspberry Pi. This means that even if someone intercepts your connection, they won't be able to decipher the information being sent. It's like having a secret code that only you and your Pi can understand.
Raspberry Pi SSH Basics: The Foundation of Remote Access
Before we dive into VNC, let's talk about SSH. SSH, or Secure Shell, is a network protocol that allows you to securely access and manage your Raspberry Pi remotely. Think of it as a secure tunnel that lets you send commands and transfer files without worrying about hackers.
Here's the good news: SSH is already built into Raspbian, the default operating system for Raspberry Pi. All you need to do is enable it, and you're good to go. Enabling SSH is a piece of cake—just a couple of clicks, and you're ready to rock.
How to Enable SSH on Raspberry Pi:
- Open the Raspberry Pi Configuration tool.
- Go to the "Interfaces" tab.
- Select "Enabled" next to SSH.
- Reboot your Pi to apply the changes.
Tips for SSH Setup
Once SSH is enabled, you can connect to your Pi from any device using an SSH client. On Windows, you can use PuTTY, while macOS and Linux users can simply use the terminal. Just type in the command `ssh pi@your-pi-ip-address` and enter your password when prompted. Voila! You're now connected to your Pi.
Setting Up VNC on Raspberry Pi: The Nitty-Gritty
Now that we've got SSH covered, let's move on to VNC. Setting up VNC on your Raspberry Pi is pretty straightforward, but there are a few steps you need to follow to get everything up and running.
Step 1: Install VNC Server
The first thing you need to do is install the VNC server on your Raspberry Pi. You can do this by opening the terminal and typing the following command:
`sudo apt-get update && sudo apt-get install realvnc-vnc-server realvnc-vnc-viewer`
Once the installation is complete, you'll need to configure the VNC server to start automatically when your Pi boots up. You can do this by running the command:
`sudo raspi-config`
From there, navigate to "Interfacing Options," select "VNC," and enable it. Easy peasy!
Troubleshooting VNC Installation
Sometimes, things don't go as planned. If you run into issues during the installation process, here are a few tips to help you troubleshoot:
- Make sure your Pi is connected to the internet.
- Check for any typos in the commands you're entering.
- Restart your Pi after making changes to ensure everything takes effect.
Configuring SSH for VNC: The Secret Sauce
Now that both SSH and VNC are set up, it's time to combine them into a powerful remote access tool. Configuring SSH for VNC involves creating an SSH tunnel that allows VNC traffic to pass securely.
Step 1: Create an SSH Tunnel
On your local machine, open a terminal and type the following command:
`ssh -L 5901:localhost:5901 pi@your-pi-ip-address`
This command sets up a tunnel that forwards traffic from port 5901 on your local machine to port 5901 on your Raspberry Pi. Port 5901 is the default port used by VNC.
Step 2: Connect to VNC
Once the tunnel is established, you can connect to VNC using a VNC client. On Windows, you can use TightVNC or UltraVNC, while macOS users can use the built-in Screen Sharing app. Simply enter `localhost:5901` as the address, and you'll be connected to your Pi's graphical interface.
Advanced SSH Configurations
If you're feeling adventurous, you can tweak your SSH configuration to improve performance and security. For example, you can disable password authentication and use public key authentication instead. This adds an extra layer of security by requiring a private key to connect to your Pi.
Connecting VNC Over SSH: The Final Frontier
With everything configured, it's time to test your setup. Fire up your VNC client and connect to your Pi. You should now be able to see your Pi's desktop as if you were sitting right in front of it. Pretty cool, huh?
Here are a few things to keep in mind when connecting:
- Make sure your Pi is powered on and connected to the internet.
- Double-check that SSH and VNC are both enabled on your Pi.
- Use the correct IP address and port number when setting up the SSH tunnel.
Troubleshooting Connection Issues
If you're having trouble connecting, don't panic. Here are a few common issues and how to fix them:
- Connection Refused: This usually means SSH or VNC isn't enabled. Double-check your settings and try again.
- Timeout Error: This could be due to a network issue. Make sure your Pi is connected to the internet and that there are no firewalls blocking the connection.
- Authentication Failed: Check your username and password. If you're using public key authentication, make sure your private key is correct.
Common Issues and Solutions: Your Troubleshooting Guide
Even the best-laid plans can go awry sometimes. Here are some common issues you might encounter when setting up Raspberry Pi VNC over SSH, along with solutions to help you get back on track.
Issue 1: Slow Connection
Solution: Try adjusting the VNC settings to use a lower resolution or fewer colors. This can significantly improve performance, especially over slower internet connections.
Issue 2: Blank Screen
Solution: Restart your VNC server and ensure that your Pi's graphical interface is functioning properly. Sometimes, a simple reboot can fix the problem.
Advanced Troubleshooting Tips
For those who want to dig deeper, here are a few advanced troubleshooting tips:
- Check the VNC server logs for error messages.
- Use the `netstat` command to verify that the VNC server is listening on the correct port.
- Test the connection from another device to rule out local machine issues.
Performance Tips: Get the Most Out of Your Setup
Now that everything is up and running, let's talk about optimizing your Raspberry Pi VNC over SSH setup for maximum performance.
Tip 1: Use a Fast Internet Connection
A fast and stable internet connection is crucial for smooth VNC performance. If your connection is slow or unreliable, you might experience lag or dropped connections.
Tip 2: Adjust VNC Settings
Tweak the VNC settings to suit your needs. For example, you can enable compression to reduce bandwidth usage or set a lower screen resolution to improve performance.
Hardware Considerations
Don't forget about the hardware side of things. A powerful Raspberry Pi model, such as the Raspberry Pi 4, can handle VNC over SSH with ease. If you're using an older model, you might notice some performance limitations.
Security Best Practices: Keep Your Pi Safe
Security should always be a top priority when setting up remote access to your Raspberry Pi. Here are a few best practices to keep your Pi safe from potential threats:
Practice 1: Use Strong Passwords
Never use weak or easily guessable passwords for your Pi. Instead, opt for strong, complex passwords that include a mix of letters, numbers, and symbols.
Practice 2: Enable Two-Factor Authentication
Two-factor authentication adds an extra layer of security by requiring a second form of verification in addition to your password. This can be a code sent to your phone or generated by an app.
Regular Security Audits
Perform regular security audits to ensure that your Pi is protected against potential vulnerabilities. Update your software regularly and monitor your system for any suspicious activity.
Real-World Applications: Putting It All Together
So, how can you apply Raspberry Pi VNC over SSH in the real world? The possibilities are endless! Here are a few examples:
- Dwayne Johnson Biography Movie The Rocks Journey From Wrestling To Hollywood Stardom
- Luke Nichols Wikipedia A Deep Dive Into The Life And Legacy Of A True Star

VNC Remote access a Raspberry Pi — Raspberry Pi Official Magazine

Remote control your Raspberry Pi from your PC with VNC! Howto
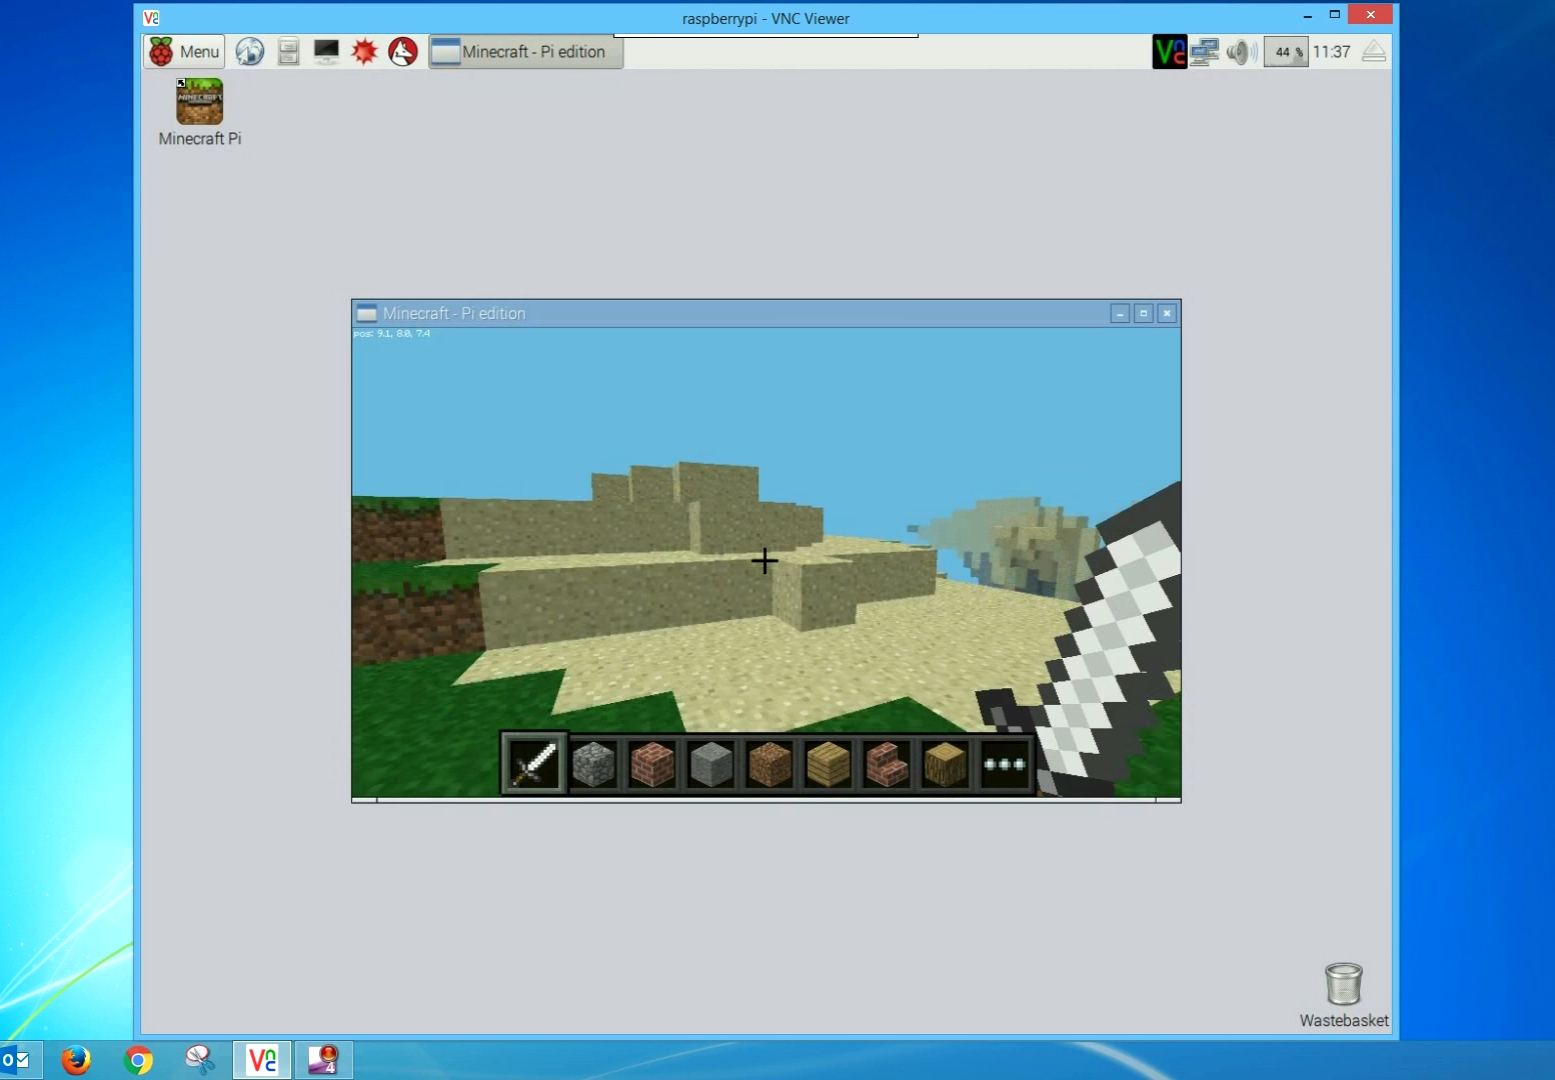
Minecraft Pi (and more) over VNC Raspberry Pi
