How To Remotely Access Raspberry Pi Web: A Comprehensive Guide For Enthusiasts
Ever wondered how you can control your Raspberry Pi from anywhere in the world? Well, let me tell you, it’s not as complicated as it sounds. Remotely accessing your Raspberry Pi web interface can be a game-changer, especially if you're into IoT projects, home automation, or just want to manage your server from afar. In this guide, we’ll walk you through everything you need to know about setting up remote access to your Raspberry Pi web interface like a pro.
Let’s face it—Raspberry Pi has taken the tech world by storm. From beginners to seasoned developers, everyone loves this little powerhouse. But what if you could take it a step further and access your Pi remotely? That’s right, no matter where you are, you can log in and manage your Pi as if you were sitting right next to it. Sounds cool, right?
Now, before we dive deep into the nitty-gritty of remotely accessing your Raspberry Pi web, let’s make sure you understand why this is such a big deal. Imagine being able to monitor your smart home devices, update your server, or troubleshoot issues without physically being there. That’s the kind of convenience we’re talking about here. So, buckle up because we’re about to take you on a journey!
- Luke Nichols Wikipedia A Deep Dive Into The Life And Legacy Of A True Star
- Matthew Le Nevez The Rising Star Redefining Success In The Spotlight
Table of Contents
- Introduction to Raspberry Pi Remote Access
- Why Remotely Access Raspberry Pi Web?
- Setting Up Your Raspberry Pi for Remote Access
- Methods to Remotely Access Raspberry Pi Web
- Using SSH for Remote Access
- Setting Up VNC for Remote Access
- Running a Web Server on Raspberry Pi
- Securing Your Remote Access
- Common Issues and Troubleshooting Tips
- Wrapping It Up
Introduction to Raspberry Pi Remote Access
Raspberry Pi has become one of the most versatile tools in the tech world. But what makes it truly special is the ability to access it remotely. Whether you’re working on a project that requires constant monitoring or just want to tinker with your setup from afar, remote access is your best friend.
Think of it this way—your Raspberry Pi is like a mini-computer that you can control from anywhere. All you need is an internet connection and the right tools. In this section, we’ll cover the basics of remote access and why it’s essential for any Pi enthusiast.
Why Remotely Access Raspberry Pi Web?
Let’s be honest—life gets busy, and sometimes you don’t have the luxury of being physically present to manage your Raspberry Pi. That’s where remote access comes in handy. Here are a few reasons why you should consider setting it up:
- Jackerman Video The Ultimate Guide To Mastering The Viral Sensation
- How Much Is Jonathan Majors Worth Unpacking The Stars Rising Net Worth
- Convenience: Access your Pi from anywhere in the world without needing to be near it.
- Productivity: Work on your projects even when you’re on the go.
- Security: Monitor your devices and ensure everything is running smoothly.
- Flexibility: Use different methods like SSH, VNC, or a web interface to suit your needs.
Remote access isn’t just about convenience—it’s about empowering you to do more with your Raspberry Pi.
Setting Up Your Raspberry Pi for Remote Access
Before you can start accessing your Raspberry Pi remotely, you’ll need to set it up properly. Here’s a quick checklist to get you started:
- Make sure your Raspberry Pi is connected to the internet.
- Install the latest version of Raspberry Pi OS on your device.
- Enable SSH and VNC services in the Raspberry Pi Configuration.
- Set up a static IP address to ensure consistent connectivity.
Once you’ve completed these steps, you’ll be ready to move on to the next phase of setting up remote access.
Why Static IP Matters
Having a static IP address is crucial if you want to avoid connectivity issues. Without it, your Pi might get assigned a different IP every time it reconnects to the network, making it hard to establish a stable connection. Trust me, you don’t want to deal with that headache!
Methods to Remotely Access Raspberry Pi Web
There are several ways to remotely access your Raspberry Pi web interface, each with its own advantages. Let’s take a closer look at some of the most popular methods:
- SSH (Secure Shell): Perfect for command-line access and managing files.
- VNC (Virtual Network Computing): Ideal if you want to access the graphical interface.
- Web Server: Great for hosting websites or web-based applications on your Pi.
Depending on your project requirements, you can choose the method that best suits your needs.
Which Method Should You Choose?
If you’re into scripting and command-line operations, SSH is probably your go-to option. On the other hand, if you prefer a more visual approach, VNC might be the better choice. And if you’re running a web server, well, you already know what to do!
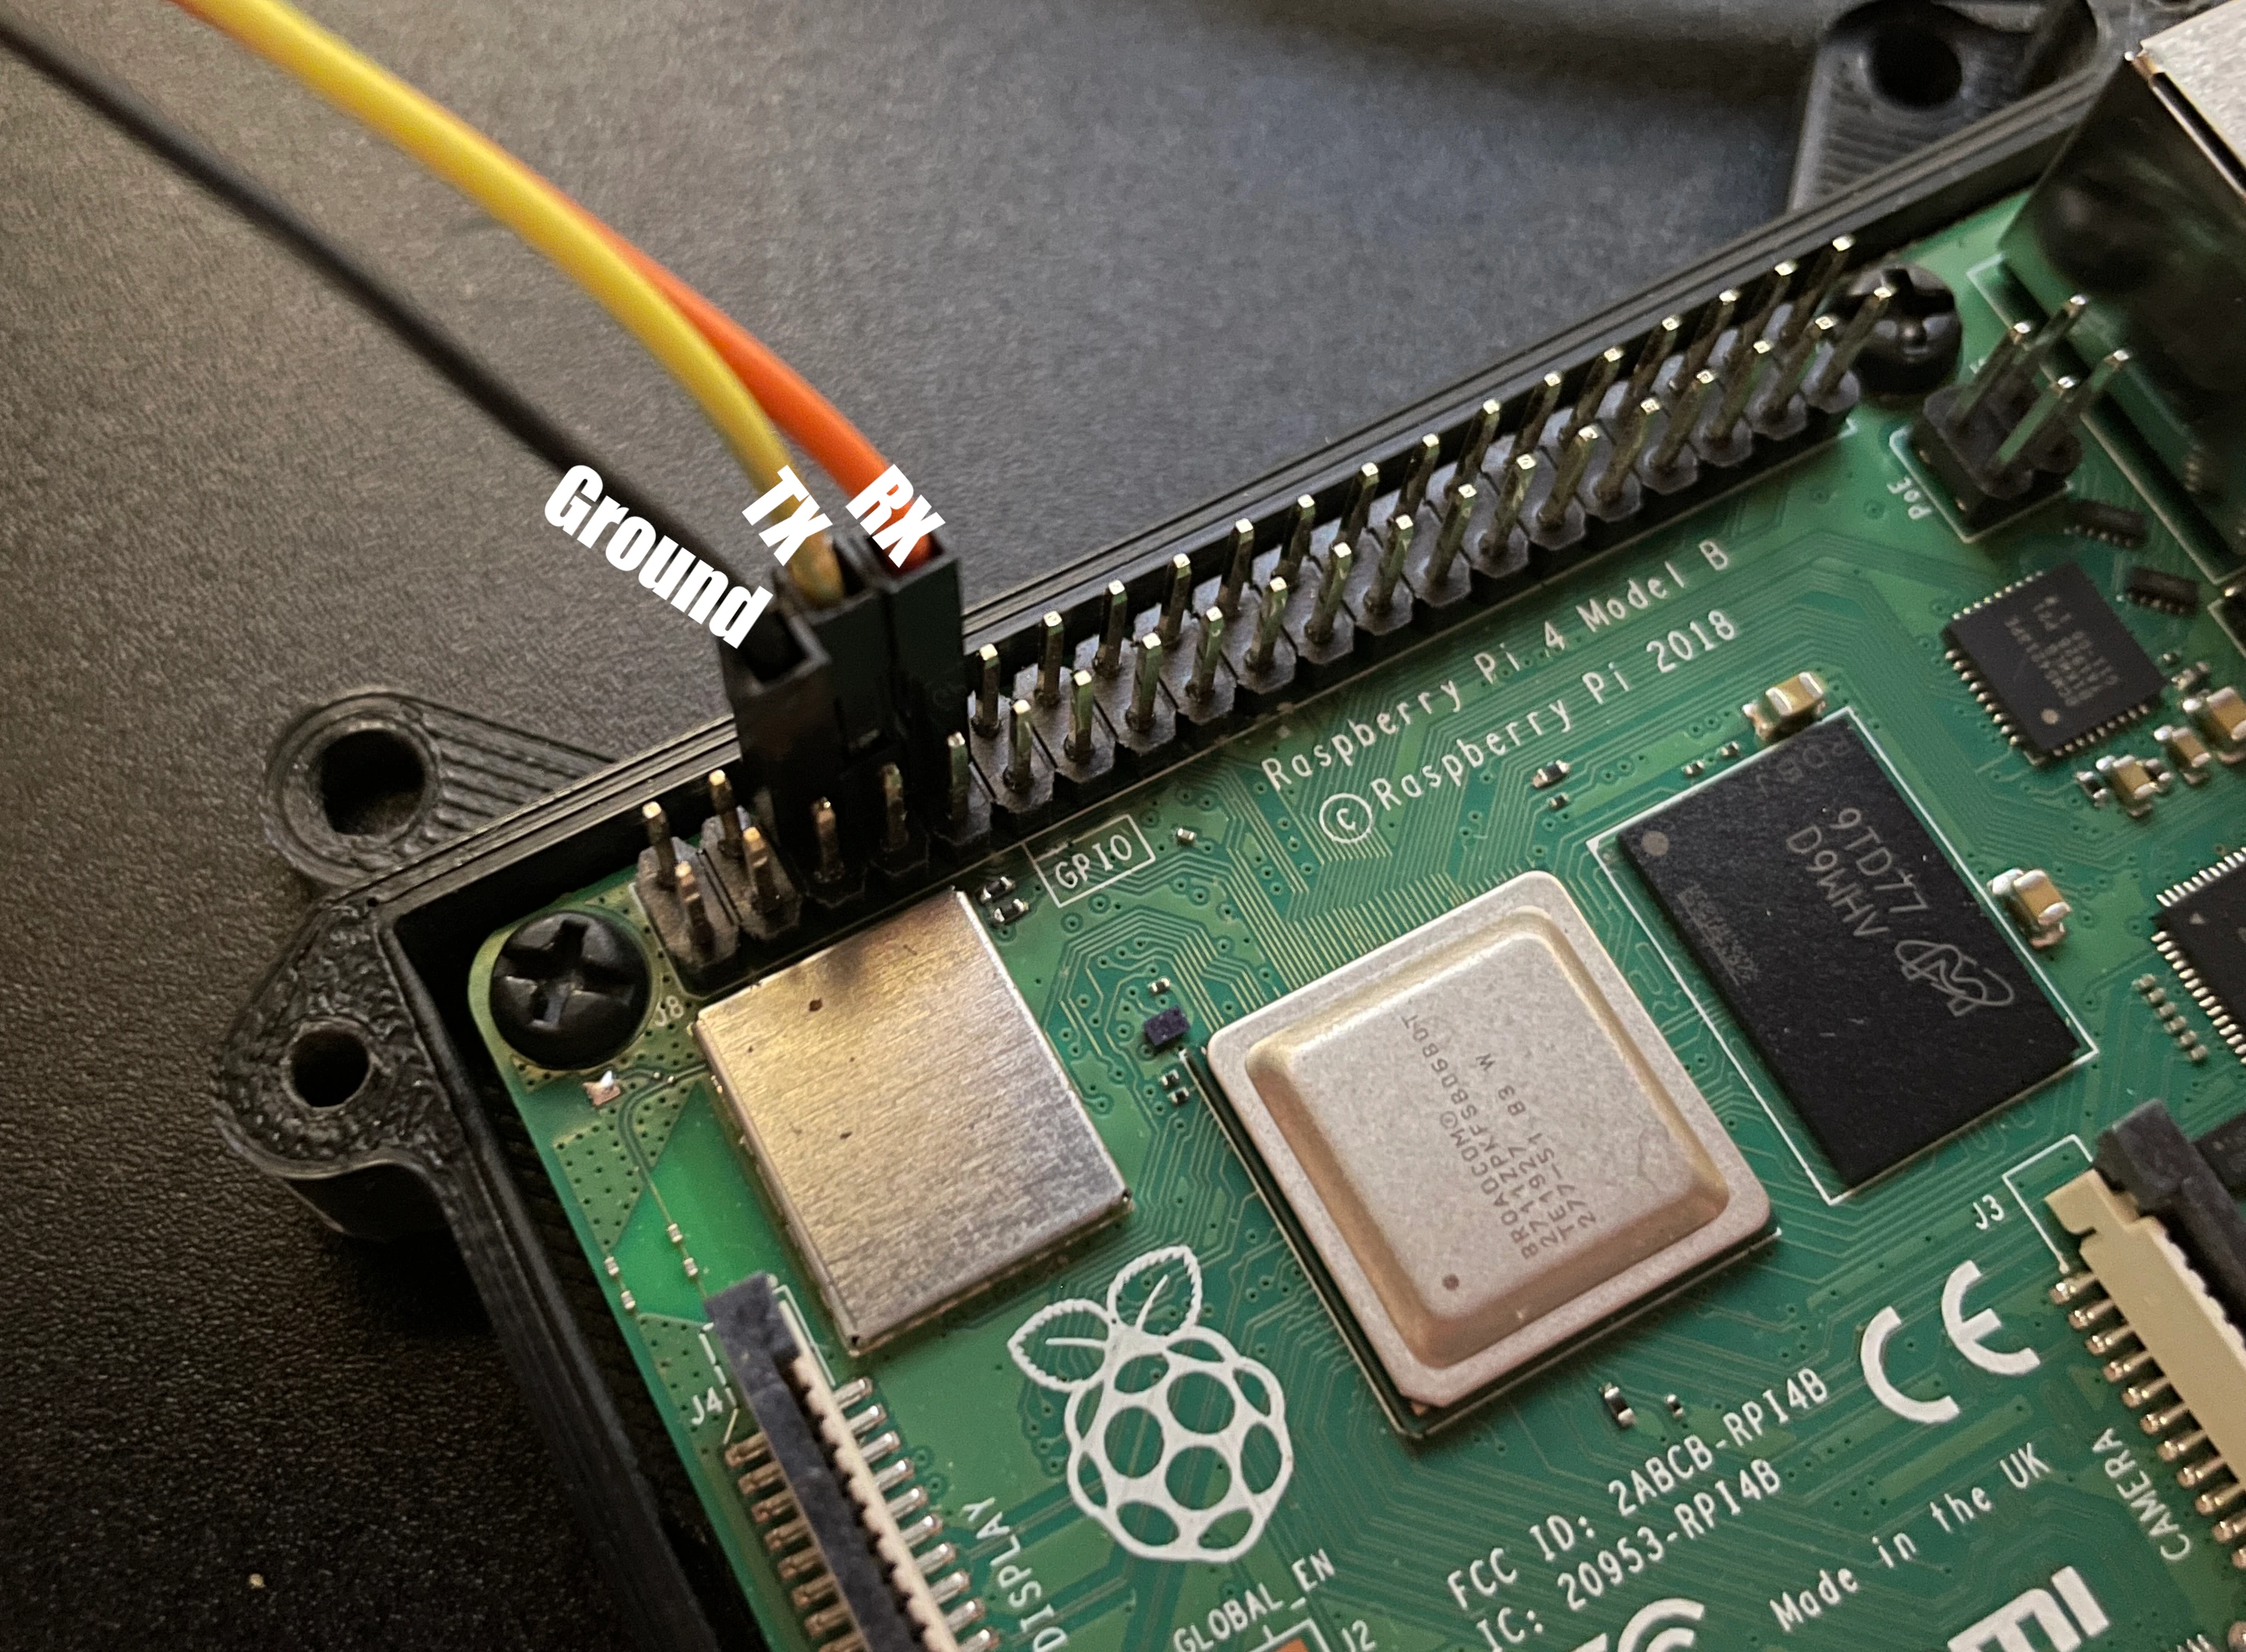
Using SSH for Remote Access
SSH, or Secure Shell, is one of the most popular methods for accessing Raspberry Pi remotely. It allows you to connect to your Pi via the command line, making it perfect for managing files, running scripts, and performing system updates.
Here’s how you can set up SSH on your Raspberry Pi:
- Enable SSH in the Raspberry Pi Configuration.
- Find your Pi’s IP address using the command
hostname -I. - Use an SSH client like PuTTY (Windows) or Terminal (Mac/Linux) to connect to your Pi.
Once connected, you can start issuing commands just as if you were sitting in front of your Pi.
Tips for Efficient SSH Usage
Want to make the most out of SSH? Here are a few tips:
- Use SSH keys for passwordless login.
- Install tools like
screenortmuxto keep sessions alive. - Consider using SSH tunnels for secure data transfer.
These tricks will save you time and make your remote access experience smoother.
Setting Up VNC for Remote Access
If you prefer a graphical interface, VNC (Virtual Network Computing) is the way to go. It lets you see and interact with your Raspberry Pi’s desktop environment as if you were sitting right in front of it.
Here’s how you can set up VNC on your Raspberry Pi:
- Install the VNC server on your Pi using
sudo apt install realvnc-vnc-server. - Enable VNC in the Raspberry Pi Configuration.
- Download the VNC Viewer app on your computer or mobile device.
- Connect to your Pi using its IP address.
Voilà! You’re now controlling your Pi’s desktop remotely.
VNC vs SSH: Which One Wins?
While both SSH and VNC are great options, they cater to different use cases. If you need a graphical interface, VNC is the clear winner. But if you’re comfortable with the command line, SSH might be faster and more efficient. Ultimately, it depends on your preferences and project requirements.
Running a Web Server on Raspberry Pi
Another way to remotely access your Raspberry Pi is by running a web server on it. This allows you to host websites, web applications, or even create a custom dashboard for monitoring your devices.
Here’s how you can set up a basic web server on your Raspberry Pi:
- Install a web server like Apache or Nginx using
sudo apt install apache2. - Configure your server by editing the default configuration files.
- Test your setup by visiting your Pi’s IP address in a browser.
With a web server up and running, you can access your Pi’s web interface from any device with a browser.
Benefits of Using a Web Server
Running a web server on your Raspberry Pi offers several advantages:
- Platform-independent access from any device.
- Easy to set up and maintain for web-based projects.
- Perfect for hosting IoT dashboards or custom applications.
Whether you’re building a smart home control panel or a personal website, a web server on your Pi can make it happen.
Securing Your Remote Access
Security should always be a top priority when setting up remote access to your Raspberry Pi. After all, you don’t want unauthorized users gaining access to your device. Here are a few tips to keep your Pi safe:
- Use strong passwords and enable two-factor authentication whenever possible.
- Disable root login and create a separate user account for remote access.
- Regularly update your Pi’s software to patch security vulnerabilities.
- Consider using a firewall to restrict incoming connections.
By following these best practices, you can significantly reduce the risk of unauthorized access.
Common Security Threats
Some of the most common security threats to be aware of include brute-force attacks, malware infections, and unauthorized access attempts. Staying vigilant and implementing the right security measures can help protect your Pi from these threats.
Common Issues and Troubleshooting Tips
Even the best-laid plans can go awry sometimes. If you’re having trouble accessing your Raspberry Pi remotely, here are a few common issues and how to fix them:
- Connection Issues: Make sure your Pi is connected to the internet and has the correct IP address.
- Authentication Problems: Double-check your username and password, and ensure SSH or VNC is enabled.
- Firewall Blocks: Check your firewall settings to ensure they’re not blocking incoming connections.
If none of these solutions work, try restarting your Pi and your router to see if that resolves the issue.
When All Else Fails
If you’re still stuck, don’t panic. Reach out to the Raspberry Pi community forums or consult the official documentation for further assistance. Chances are, someone else has faced the same problem and found a solution.
Wrapping It Up
Remotely accessing your Raspberry Pi web interface opens up a world of possibilities. Whether you’re managing a server, monitoring IoT devices, or just tinkering with your setup, remote access makes life easier and more efficient.
In this guide, we’ve covered everything from setting up SSH and VNC to running a web server and securing your Pi. By following these steps, you’ll be well on your way to mastering remote access like a pro.
So, what are you waiting for? Give it a try and let us know how it goes. And remember, if you have any questions or need further assistance, feel free to leave a comment below or share this article with your fellow Pi enthusiasts. Happy tinkering!
- Seinfeld Height The Inside Scoop On Tvs Favorite Comedian
- Goggins Actor The Rise Of A Fitness Icon In Hollywood

how to access Raspberry Pi remotely MaidaTech

Buy a Raspberry Pi Zero Raspberry Pi
9 Ways to Access Your Raspberry Pi Remotely The Quantizer
