How To Find Raspberry Pi VNC Port Free: A Comprehensive Guide For Enthusiasts
So, you're diving into the world of Raspberry Pi and VNC connections? That's awesome! Let's face it, setting up a Raspberry Pi with VNC can be a bit overwhelming, especially if you're new to this tech scene. But don't sweat it! In this article, we'll walk you through how to find Raspberry Pi VNC port free like a pro. Whether you're a hobbyist or a tech enthusiast, you'll be up and running in no time. Ready to get started? Let's roll!
Before we dive into the nitty-gritty, it's important to understand why knowing how to find Raspberry Pi VNC port free is crucial. VNC (Virtual Network Computing) allows you to remotely control your Raspberry Pi from another device. This means you don't need a monitor, keyboard, or mouse connected to your Pi all the time. Sounds convenient, right? But first, you gotta figure out which port is open and ready for action.
Now, if you're thinking, "Do I really need to know this stuff?" the answer is a big fat yes! Understanding the basics of VNC ports will save you a ton of headaches down the line. Plus, it's a skill that'll make you look super smart in front of your tech-savvy friends. So, buckle up, grab your favorite snack, and let's get into the details.
- Whats The Real Deal Behind The Upside Down Flag Meaning Lets Dive In
- What Is Data Visualization In Iot Unlocking The Power Of Connected Insights
Why Finding Raspberry Pi VNC Port Matters
Alright, let's break it down. When you're working with Raspberry Pi, finding the right VNC port is essential for establishing a smooth and secure connection. Think of it like tuning into the right radio station—wrong frequency, no signal. Same deal here. If you don't know which port to use, you might end up stuck in a frustrating loop of "connection refused" messages.
Here's the deal: Raspberry Pi uses port 5900 by default for VNC connections. But what if that port is already in use or blocked? That's where knowing how to find Raspberry Pi VNC port free comes in handy. By identifying an available port, you ensure a seamless remote access experience without any hiccups.
Let's not forget the security aspect. Using a free and open port reduces the risk of unauthorized access. You don't want some random hacker poking around your Pi, do you? Exactly. So, let's explore how you can find that perfect port for your VNC setup.
- How Much Is Jonathan Majors Worth Unpacking The Stars Rising Net Worth
- What Is Szas Real Name Discover The Story Behind The Rampb Sensation
Tools You'll Need to Get Started
Before we jump into the process, make sure you have the right tools in your toolkit. Here's what you'll need:
- Raspberry Pi (duh!)
- Raspberry Pi OS installed
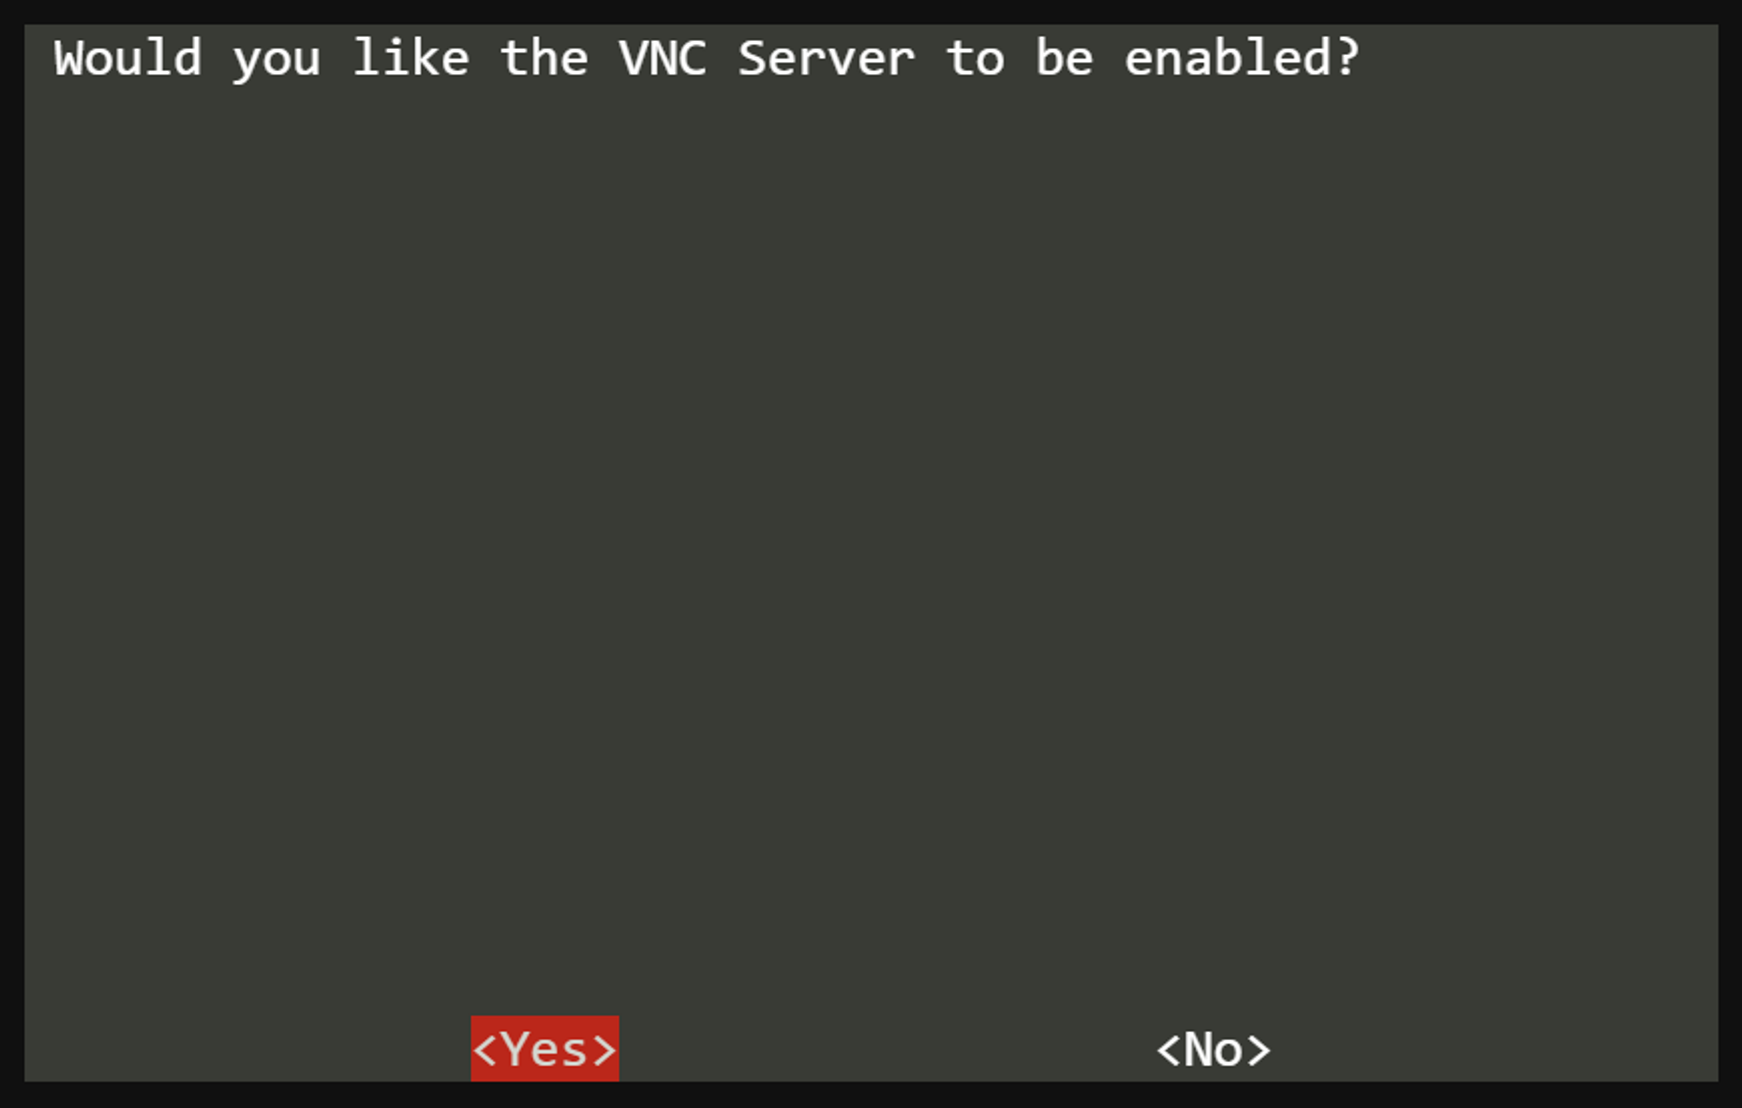
- VNC Server installed on your Pi
- A computer or device to connect remotely
- A terminal or command-line interface
Got all that? Great! Now, let's move on to the fun part—finding that elusive free port.
Step-by-Step Guide to Find Raspberry Pi VNC Port Free
Ready to roll up your sleeves and get to work? Follow these steps to find a free VNC port on your Raspberry Pi:
Step 1: Open the Terminal
First things first, fire up the terminal on your Raspberry Pi. You can do this by clicking on the terminal icon or pressing Ctrl + Alt + T. Easy peasy, right?
Step 2: Check for Open Ports
Now, it's time to check which ports are currently in use. Type the following command in the terminal:
sudo netstat -tuln
This will display a list of all open ports on your Pi. Look for port 5900 or any other port that VNC might be using. If it's not listed, congrats! You've found a free port.
Step 3: Configure VNC to Use the Free Port
Once you've identified a free port, it's time to configure VNC to use it. Open the VNC server settings and specify the port number you want to use. This can usually be done through the VNC configuration file or the VNC server interface.
Step 4: Test the Connection
After configuring the port, test the connection to make sure everything is working smoothly. Use your VNC client on another device to connect to your Raspberry Pi using the new port. If you can successfully access your Pi, you're golden!
Common Issues and How to Fix Them
Let's face it, things don't always go as planned. Here are some common issues you might encounter while trying to find Raspberry Pi VNC port free and how to fix them:
- Port Already in Use: If the port you want to use is already occupied, try using a different port number. Just make sure it's not being used by another service.
- Connection Refused: Double-check your VNC server settings to ensure the correct port is specified. Also, verify that the firewall isn't blocking the port.
- Security Concerns: Always use strong passwords and enable encryption to protect your VNC connection from prying eyes.
Remember, troubleshooting is all about patience and persistence. Keep trying different solutions until you find what works best for your setup.
Security Best Practices for VNC Connections
Security should always be at the top of your priority list when setting up VNC on your Raspberry Pi. Here are some best practices to keep your connection safe:
- Use strong, unique passwords for your VNC server.
- Enable encryption to protect your data during transmission.
- Limit access to trusted devices and IP addresses.
- Regularly update your Raspberry Pi OS and VNC software to patch any security vulnerabilities.
By following these practices, you'll significantly reduce the risk of unauthorized access and ensure a secure VNC connection.
Advanced Tips for Power Users
If you're a power user looking to take your VNC setup to the next level, here are some advanced tips:
Tip 1: Use SSH Tunneling
SSH tunneling provides an additional layer of security by encrypting your VNC connection. You can set up an SSH tunnel using the following command:
ssh -L 5901:localhost:5900 user@raspberrypi
This forwards port 5901 on your local machine to port 5900 on your Raspberry Pi, creating a secure tunnel for your VNC connection.
Tip 2: Automate Port Scanning
For those who love automation, you can write a script to automatically scan for free ports on your Raspberry Pi. This can save you time and effort, especially if you're managing multiple VNC connections.
Real-World Applications of VNC on Raspberry Pi
VNC on Raspberry Pi isn't just for tech enthusiasts—it has real-world applications that can benefit businesses and individuals alike. Here are a few examples:
- Remote Monitoring: Use VNC to remotely monitor and manage IoT devices connected to your Raspberry Pi.
- Headless Setup: Set up your Raspberry Pi without a monitor, keyboard, or mouse using VNC.
- Collaboration: Share your Raspberry Pi desktop with others for collaborative projects or troubleshooting sessions.
These applications highlight the versatility and power of VNC when combined with Raspberry Pi. The possibilities are truly endless!
Conclusion: Take Your Raspberry Pi Game to the Next Level
And there you have it—a comprehensive guide on how to find Raspberry Pi VNC port free. By following the steps outlined in this article, you'll be able to set up a secure and reliable VNC connection in no time. Remember, the key to success is understanding the basics and practicing good security habits.
So, what are you waiting for? Grab your Raspberry Pi, fire up the terminal, and start exploring the world of VNC. And don't forget to share your experiences in the comments below. We'd love to hear how you're using VNC on your Raspberry Pi projects!
Call to Action: Like what you've read? Check out our other articles on Raspberry Pi and VNC for even more tips and tricks. Happy tinkering!
Table of Contents
- Why Finding Raspberry Pi VNC Port Matters
- Tools You'll Need to Get Started
- Step-by-Step Guide to Find Raspberry Pi VNC Port Free
- Common Issues and How to Fix Them
- Security Best Practices for VNC Connections
- Advanced Tips for Power Users
- Real-World Applications of VNC on Raspberry Pi
- Conclusion
- Michael Cimino Actor The Man Behind The Lens And Beyond The Spotlight
- Kenny Smith Allstar The Journey Achievements And Legacy

VNC Remote access a Raspberry Pi — Raspberry Pi Official Magazine

Remote control your Raspberry Pi from your PC with VNC! Howto
Take Control Remotely with Raspberry Pi VNC
