How Do I Remotely Access My Raspberry Pi? The Ultimate Guide
Listen up, tech enthusiasts, Raspberry Pi lovers, and remote access wizards! If you've ever wondered, "How do I remotely access my Raspberry Pi?"—you're in the right place. This guide is jam-packed with actionable tips, step-by-step instructions, and insider secrets to help you connect to your Raspberry Pi from anywhere in the world. No more being tied down to your local network—let’s make your Pi truly portable and accessible!
Remote access to your Raspberry Pi opens up a world of possibilities. Imagine controlling your home automation system, running server tasks, or even streaming media—all without needing to physically touch your device. Whether you're a seasoned pro or just starting out, this article has got you covered. So grab a coffee, settle in, and let’s dive right into the nitty-gritty of remote Raspberry Pi access.
Before we jump into the deep end, let me break it down for you. This isn’t just another tech tutorial; it’s a comprehensive guide that covers everything you need to know. From setting up SSH to troubleshooting common issues, we’ll tackle it all. Let’s make sure your Pi stays secure while you’re accessing it remotely. Now, are you ready to level up your Pi game?
- Dwayne Johnson Biography Movie The Rocks Journey From Wrestling To Hollywood Stardom
- Luke Nichols Wikipedia A Deep Dive Into The Life And Legacy Of A True Star
Why Remotely Access Your Raspberry Pi?
Alright, let’s get real. Why even bother learning how to remotely access your Raspberry Pi? Well, the answer is simple: convenience. With remote access, you can manage your projects from anywhere—whether you're at home, at work, or on vacation. Plus, it’s super useful for monitoring servers, controlling IoT devices, or even just tinkering with code. Think of it as giving your Raspberry Pi a virtual leash—you can pull it back whenever you need, no matter where you are.
Here are a few reasons why remote access is a game-changer:
- Access your projects from anywhere
- Run server tasks without needing physical access
- Monitor IoT devices in real-time
- Stream media and manage files remotely
So, whether you're building a weather station, running a personal cloud, or just tinkering around, remote access is a must-have skill for any Raspberry Pi user. Let’s explore how you can make it happen!
- Alanna Masterson Relationship The Inside Scoop On Love Life And Everything In Between
- Mr Bean Net Worth The Hidden Fortune Behind The Silly Face
Setting Up SSH for Remote Access
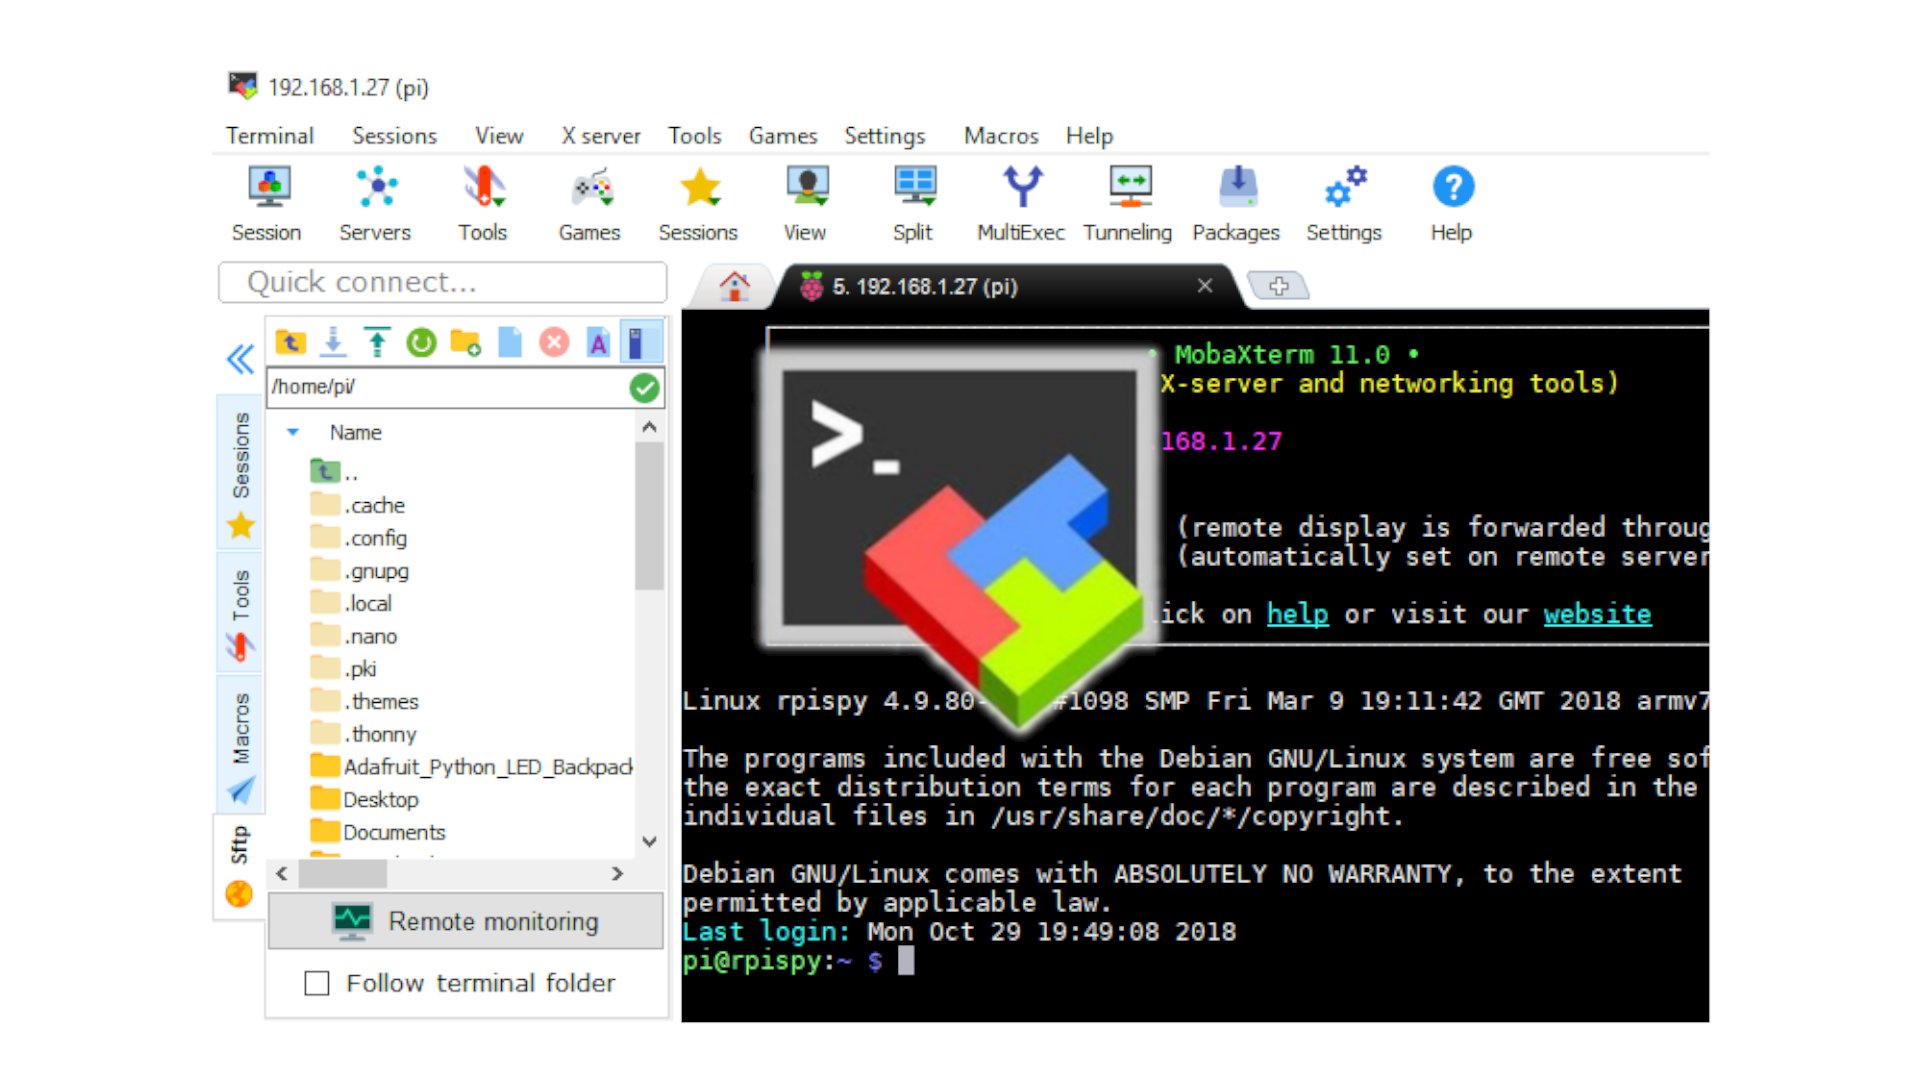
SSH, or Secure Shell, is the bread and butter of remote Raspberry Pi access. It’s a secure way to connect to your device over the internet, allowing you to run commands and manage files without needing a monitor or keyboard. Here’s how you set it up:
First things first, make sure your Raspberry Pi is running the latest version of Raspberry Pi OS. Then, follow these steps:
- Enable SSH by navigating to the Raspberry Pi Configuration tool or using the terminal with the command
sudo raspi-config. - Once SSH is enabled, find your Pi’s local IP address by typing
hostname -Iin the terminal. - Use an SSH client like PuTTY (Windows) or simply the terminal (Mac/Linux) to connect to your Pi using its IP address.
Voila! You’re now connected to your Raspberry Pi remotely. But wait, there’s more. To access your Pi from outside your local network, you’ll need to set up port forwarding or use a service like ngrok. We’ll cover that in the next section.
Understanding Port Forwarding
Port forwarding is like giving your Raspberry Pi a public address so it can be accessed from anywhere on the internet. It might sound complicated, but trust me, it’s not that bad. Here’s a quick rundown:
Log in to your router’s admin page (usually 192.168.0.1 or 192.168.1.1) and look for the port forwarding settings. Then:
- Create a new rule and set the external port to 22 (the default SSH port).
- Set the internal IP address to your Raspberry Pi’s local IP.
- Save the settings and test the connection using your public IP address.
Pro tip: To avoid issues with dynamic IP addresses, consider using a dynamic DNS service like No-IP or DuckDNS. These services will assign a static domain name to your Pi, making it easier to access.
Securing Your SSH Connection
Security is key when it comes to remote access. You don’t want some random hacker gaining control of your Pi, right? Here’s how you can beef up your SSH security:
- Change the default SSH port from 22 to something less obvious (like 2222).
- Disable root login by editing the SSH config file (
/etc/ssh/sshd_config) and settingPermitRootLogin no. - Use strong passwords or, better yet, set up SSH keys for authentication.
By taking these precautions, you’ll ensure that your Raspberry Pi stays safe and secure while you’re accessing it remotely.
Using ngrok for Easy Remote Access
Let’s face it—setting up port forwarding can be a bit of a hassle, especially if you’re new to networking. That’s where ngrok comes in. ngrok is a simple tool that creates a secure tunnel to your Raspberry Pi, allowing you to access it from anywhere without messing with router settings.
Here’s how you use it:
- Download ngrok from the official website and install it on your Raspberry Pi.
- Run the command
./ngrok tcp 22to create a tunnel to your SSH port. - Copy the public URL provided by ngrok and use it to connect to your Pi remotely.
Simple, right? ngrok is a great option if you want quick and easy remote access without worrying about firewall rules or dynamic IPs.
Troubleshooting Common Issues
Even the best-laid plans can go awry, and remote access is no exception. Here are some common issues you might encounter and how to fix them:
Issue 1: Unable to Connect via SSH
If you’re having trouble connecting to your Raspberry Pi via SSH, here are a few things to check:
- Make sure SSH is enabled on your Pi.
- Verify that your Pi’s IP address is correct.
- Check your firewall settings to ensure port 22 is open.
Issue 2: Connection Timeout
A connection timeout usually means there’s a problem with your network settings. Try these troubleshooting steps:
- Restart your router and modem.
- Double-check your port forwarding settings.
- Use a different SSH client or try connecting from a different network.
Still stuck? Don’t worry—there’s always a solution. Keep reading for more tips and tricks!
Advanced Tips for Power Users
If you’re a seasoned Raspberry Pi user looking to take your remote access game to the next level, here are some advanced tips for you:
Tip 1: Set Up a Static IP Address
A static IP address ensures that your Raspberry Pi always has the same local IP, making it easier to configure port forwarding. Here’s how you do it:
- Edit the
/etc/dhcpcd.conffile and add the following lines: interface eth0(or wlan0 for Wi-Fi)static ip_address=192.168.0.XXX(replace XXX with your desired IP)static routers=192.168.0.1static domain_name_servers=192.168.0.1
Tip 2: Automate ngrok with systemd
Running ngrok manually every time you want to access your Pi can be tedious. Why not automate it with systemd? Here’s how:
- Create a new service file in
/etc/systemd/system/ngrok.service. - Add the following lines:
[Unit]Description=ngrok service[Service]ExecStart=/path/to/ngrok tcp 22[Install]WantedBy=multi-user.target
Then, enable and start the service using sudo systemctl enable ngrok and sudo systemctl start ngrok. Your Pi will now automatically start ngrok on boot!
Real-World Applications of Remote Raspberry Pi Access
Now that you know how to remotely access your Raspberry Pi, let’s talk about some cool real-world applications:
Application 1: Home Automation
Use your Raspberry Pi as the brain of your smart home. With remote access, you can control lights, thermostats, and security systems from anywhere. Imagine turning off the lights or adjusting the temperature while you’re at work—it’s like having a personal assistant!
Application 2: Personal Cloud Server
Set up a personal cloud server on your Raspberry Pi and access your files from anywhere. With remote access, you can stream media, share documents, or even back up your data—all without needing a fancy cloud service.
Application 3: IoT Projects
Whether you’re building a weather station, a plant monitor, or a security camera, remote access to your Raspberry Pi makes it easy to manage your IoT projects. Monitor sensors, collect data, and tweak settings—all from the comfort of your couch.
Conclusion
So there you have it, folks—the ultimate guide to remotely accessing your Raspberry Pi. From setting up SSH and port forwarding to using tools like ngrok, we’ve covered everything you need to know. Remember, security is key, so always take precautions to protect your Pi from unauthorized access.
Now it’s your turn. Whether you’re building a smart home, running a server, or just tinkering around, remote access can take your Raspberry Pi projects to the next level. So what are you waiting for? Get out there and start connecting!
Before you go, don’t forget to leave a comment or share this article with your fellow Pi enthusiasts. And if you’re hungry for more tech tips, be sure to check out our other articles. Until next time, happy hacking!
Table of Contents
- Why Remotely Access Your Raspberry Pi?
- Setting Up SSH for Remote Access
- Understanding Port Forwarding
- Using ngrok for Easy Remote Access
- Troubleshooting Common Issues
- Advanced Tips for Power Users
- Real-World Applications of Remote Raspberry Pi Access
- Conclusion
- Whats The Real Deal Behind The Upside Down Flag Meaning Lets Dive In
- Kenny Smith Allstar The Journey Achievements And Legacy

how to access Raspberry Pi remotely MaidaTech

9 Ways to Access Your Raspberry Pi Remotely The Quantizer
How To Access A Raspberry Pi Remotely Raspberry
