Access Raspberry Pi Over Internet: The Ultimate Guide For Tech Enthusiasts
Accessing your Raspberry Pi over the internet has never been easier, but it’s not as simple as plugging in a cable and hoping for the best. If you're looking to unlock the full potential of your Pi from anywhere in the world, you’ve come to the right place. This guide will walk you through everything you need to know, step by step, so you can remotely control your Pi like a pro.
Let’s face it, Raspberry Pi is more than just a tiny computer; it’s a powerhouse for innovation. Whether you’re setting up a home server, running a media center, or even creating a smart home system, being able to access Raspberry Pi over the internet can be a game-changer. But with so many tutorials out there, it’s easy to get lost in the technical jargon.
This article isn’t just another how-to guide. We’re breaking down the process into manageable chunks, ensuring you understand every step of the way. From setting up your Pi to securing your connection, we’ve got you covered. So grab your favorite beverage, and let’s dive in.
- What Is Data Visualization In Iot Unlocking The Power Of Connected Insights
- Is Shaq Married The Untold Story Behind The Big Diesels Love Life
Why Access Raspberry Pi Over Internet Matters
Imagine being able to check on your home security camera feed while you're at work or controlling your smart home devices from the other side of the world. That’s the power of accessing Raspberry Pi over the internet. But why stop there? Developers use this setup to deploy applications, run servers, or even manage IoT devices remotely.
However, with great power comes great responsibility. Security is paramount when exposing your Raspberry Pi to the internet. In this section, we’ll explore why remote access is essential and how to do it safely.
- Remote management of home automation systems
- Accessing files and media libraries from anywhere
- Running web servers or hosting applications
- Monitoring security cameras and IoT devices
Understanding the Basics
Before we jump into the technical details, let’s cover the basics. Your Raspberry Pi is essentially a small computer, and like any computer, it needs an IP address to communicate over the internet. But unlike your desktop, a Pi doesn’t come with built-in security features to protect it from the wild world wide web.
- Alice Rosenblum Porn Leaks The Untold Story You Need To Know
- Virginia Madsen Net Worth A Deep Dive Into The Wealth Of This Talented Actress
Here’s a quick rundown of what you’ll need:
- Raspberry Pi with Raspbian OS installed
- A stable internet connection
- A router with port forwarding capabilities
- A domain name or dynamic DNS service
Setting Up Your Raspberry Pi for Remote Access
Alright, let’s get our hands dirty. The first step in accessing Raspberry Pi over the internet is setting up your Pi for remote access. This involves configuring SSH, setting a static IP address, and ensuring your Pi is ready for the big leagues.
Step 1: Enable SSH on Raspberry Pi
SSH (Secure Shell) is the backbone of remote access. It allows you to connect to your Pi securely from another device. Here’s how you enable it:
- Open the Raspberry Pi Configuration tool by typing
sudo raspi-configin the terminal. - Navigate to
Interfacing Optionsand selectSSH. - Choose
Yesto enable SSH and reboot your Pi.
Step 2: Set a Static IP Address
A static IP address ensures your Pi always has the same address on your local network. This makes it easier to connect to your Pi from the internet. Here’s how:
- Open the terminal and type
sudo nano /etc/dhcpcd.conf. - Add the following lines at the end of the file:
- interface eth0
- static ip_address=192.168.1.100/24
- static routers=192.168.1.1
- static domain_name_servers=192.168.1.1
- Save and exit, then reboot your Pi.
Connecting Raspberry Pi to the Internet
Now that your Pi is ready, it’s time to connect it to the internet. This involves configuring your router to forward traffic to your Pi and setting up a domain name or dynamic DNS service.
Port Forwarding: The Gateway to Your Pi
Port forwarding allows you to direct incoming traffic from the internet to your Raspberry Pi. Here’s a step-by-step guide:
- Log in to your router’s admin panel (usually
192.168.1.1). - Find the port forwarding section and add a new rule.
- Set the external port to
22(for SSH) and the internal IP to your Pi’s static IP. - Save the settings and test the connection.
Dynamic DNS: Keeping Your Pi Reachable
Your internet service provider may change your external IP address periodically. A dynamic DNS service ensures your Pi always has a reachable address. Services like No-IP or DuckDNS make this process effortless.
Securing Your Raspberry Pi
Security should always be a top priority when accessing Raspberry Pi over the internet. Here are some tips to keep your Pi safe:
- Change the default SSH port to something less common.
- Use strong, unique passwords for your Pi.
- Install a firewall to block unauthorized access.
- Regularly update your Pi’s software and firmware.
Firewall Setup
A firewall acts as a barrier between your Pi and potential threats. Use ufw (Uncomplicated Firewall) to simplify the process:
- Install ufw by typing
sudo apt install ufw. - Allow SSH access with
sudo ufw allow 22. - Enable the firewall with
sudo ufw enable.
Advanced Techniques for Remote Access
Once you’ve mastered the basics, it’s time to explore advanced techniques for accessing Raspberry Pi over the internet. These methods offer more flexibility and security.
Using a VPN
A Virtual Private Network (VPN) creates a secure tunnel between your device and your Pi. This ensures all communication is encrypted and protected from prying eyes.
SSH Tunneling
SSH tunneling allows you to securely forward traffic between your device and your Pi. This is particularly useful if your network restricts direct connections.
Common Issues and Troubleshooting
Even the best-laid plans can go awry. Here are some common issues you might encounter and how to fix them:
- Connection Refused: Double-check your port forwarding settings and ensure SSH is enabled.
- IP Address Conflict: Verify your static IP doesn’t conflict with another device on the network.
- Firewall Blocking: Ensure your firewall allows traffic on the necessary ports.
Conclusion: Take Control of Your Raspberry Pi
Accessing Raspberry Pi over the internet opens up a world of possibilities. From managing smart home devices to hosting web applications, the potential is limitless. Remember, security is key, so always take the necessary precautions to protect your Pi.
We’d love to hear about your experiences. Did this guide help you? Do you have any tips or tricks to share? Leave a comment below or share this article with your fellow tech enthusiasts. And don’t forget to check out our other articles for more Raspberry Pi goodness.
Table of Contents
- Why Access Raspberry Pi Over Internet Matters
- Understanding the Basics
- Setting Up Your Raspberry Pi for Remote Access
- Connecting Raspberry Pi to the Internet
- Securing Your Raspberry Pi
- Advanced Techniques for Remote Access
- Common Issues and Troubleshooting
- Conclusion: Take Control of Your Raspberry Pi
Remember, the journey doesn’t end here. Keep exploring, keep learning, and keep building. Happy Pi-ing!
- Melina Goranssen The Rising Star Taking The World By Storm
- Whats The Real Deal Behind The Upside Down Flag Meaning Lets Dive In
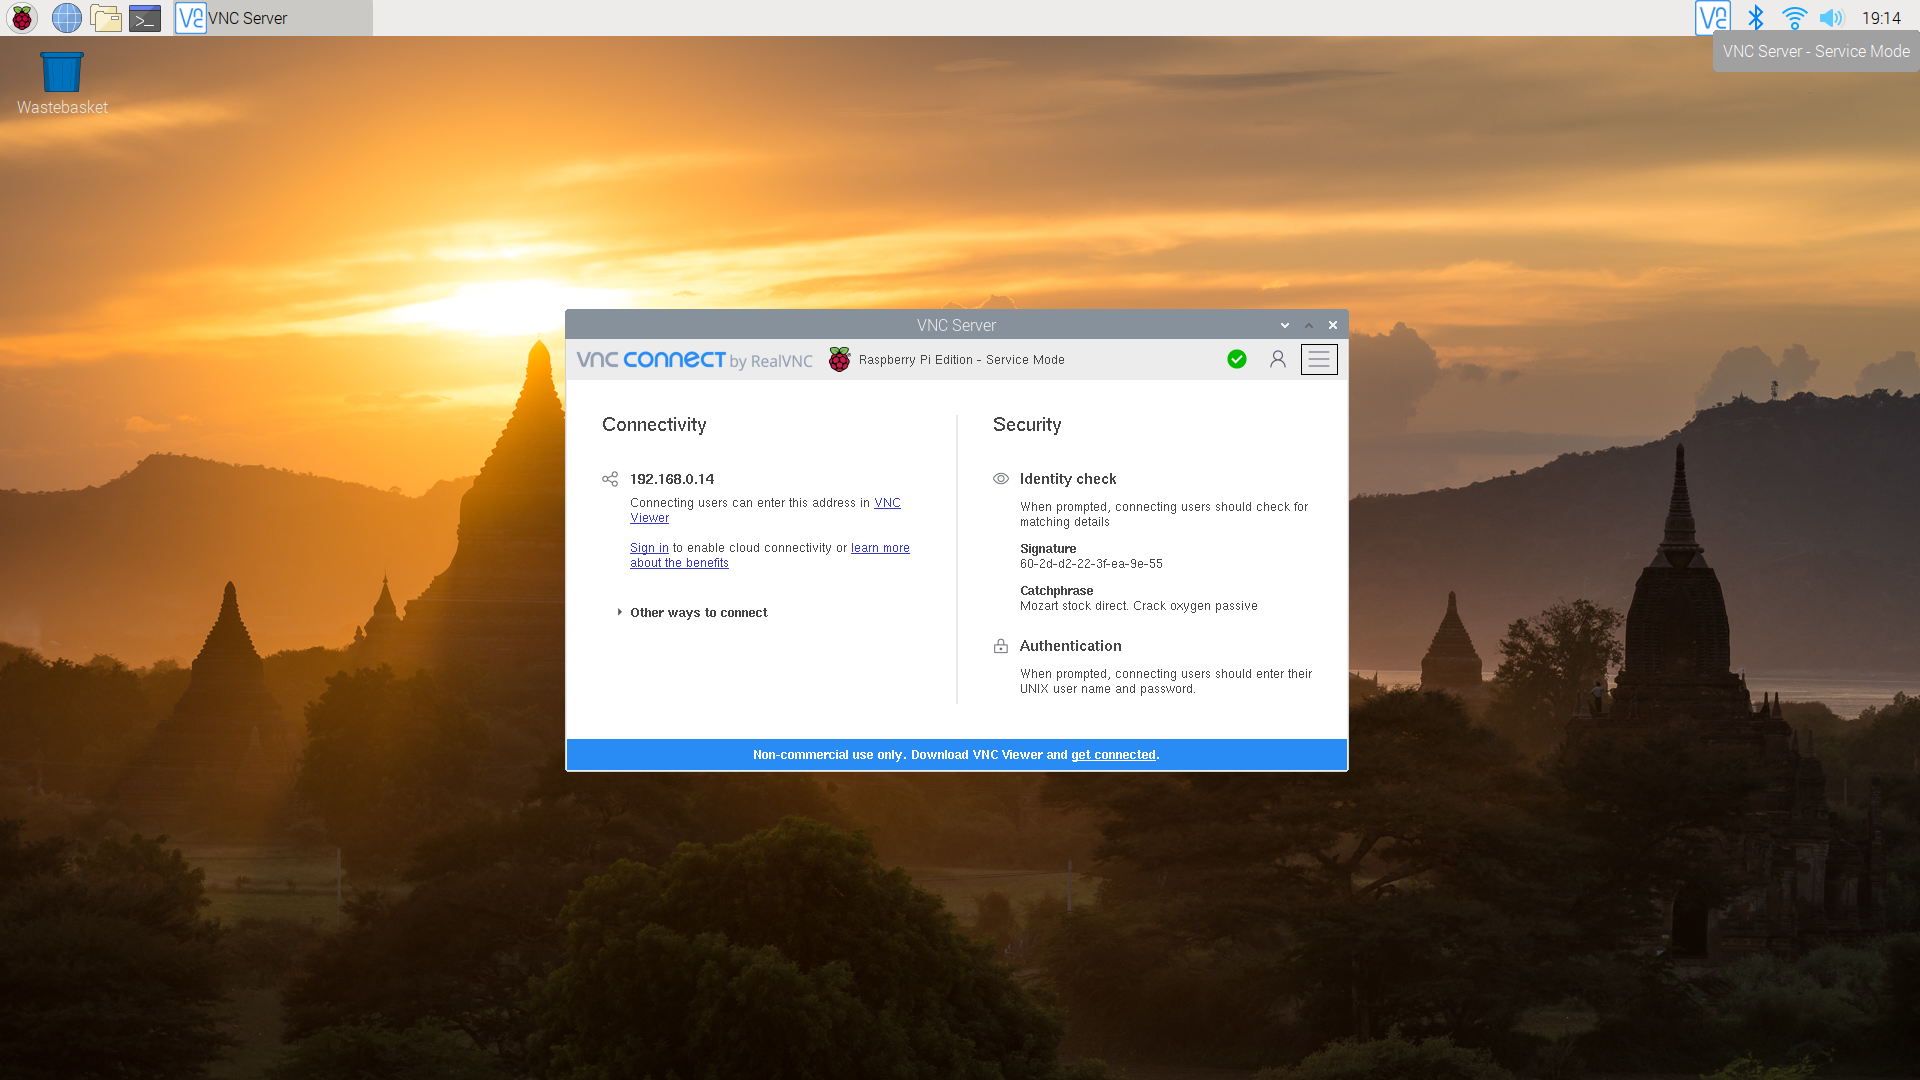
VNC Remote access a Raspberry Pi — Raspberry Pi Official Magazine
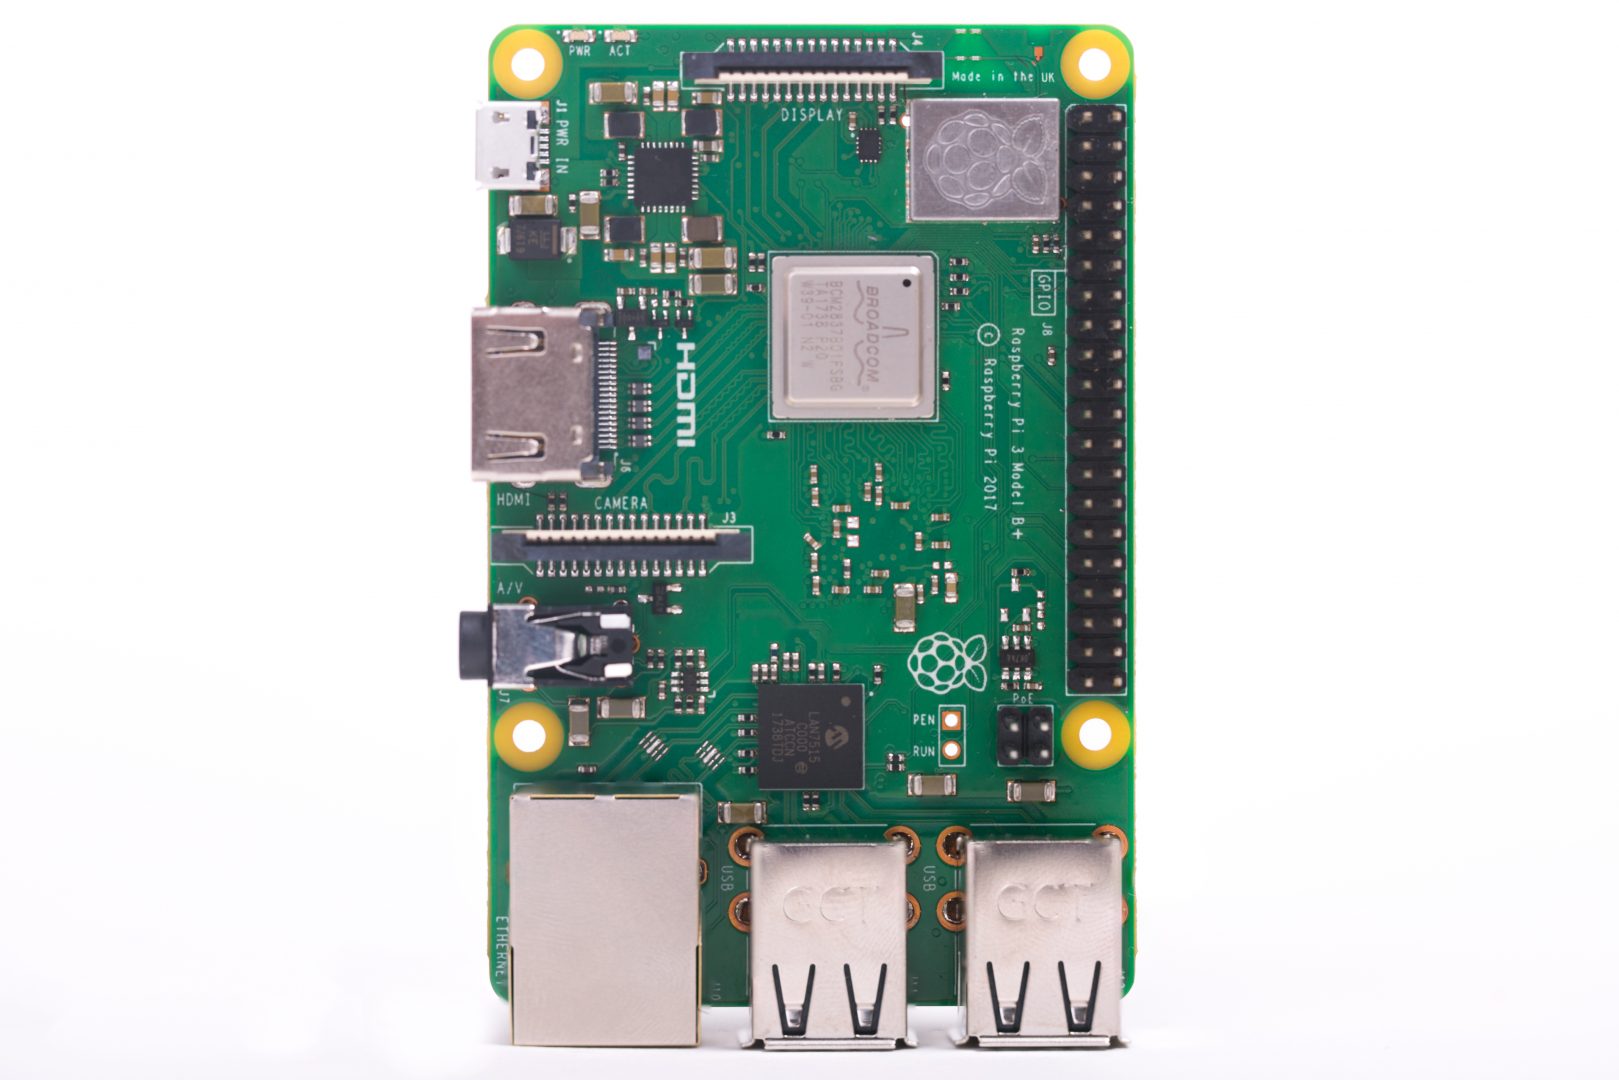
Raspberry Pi 3 Model B+ Raspberry Pi
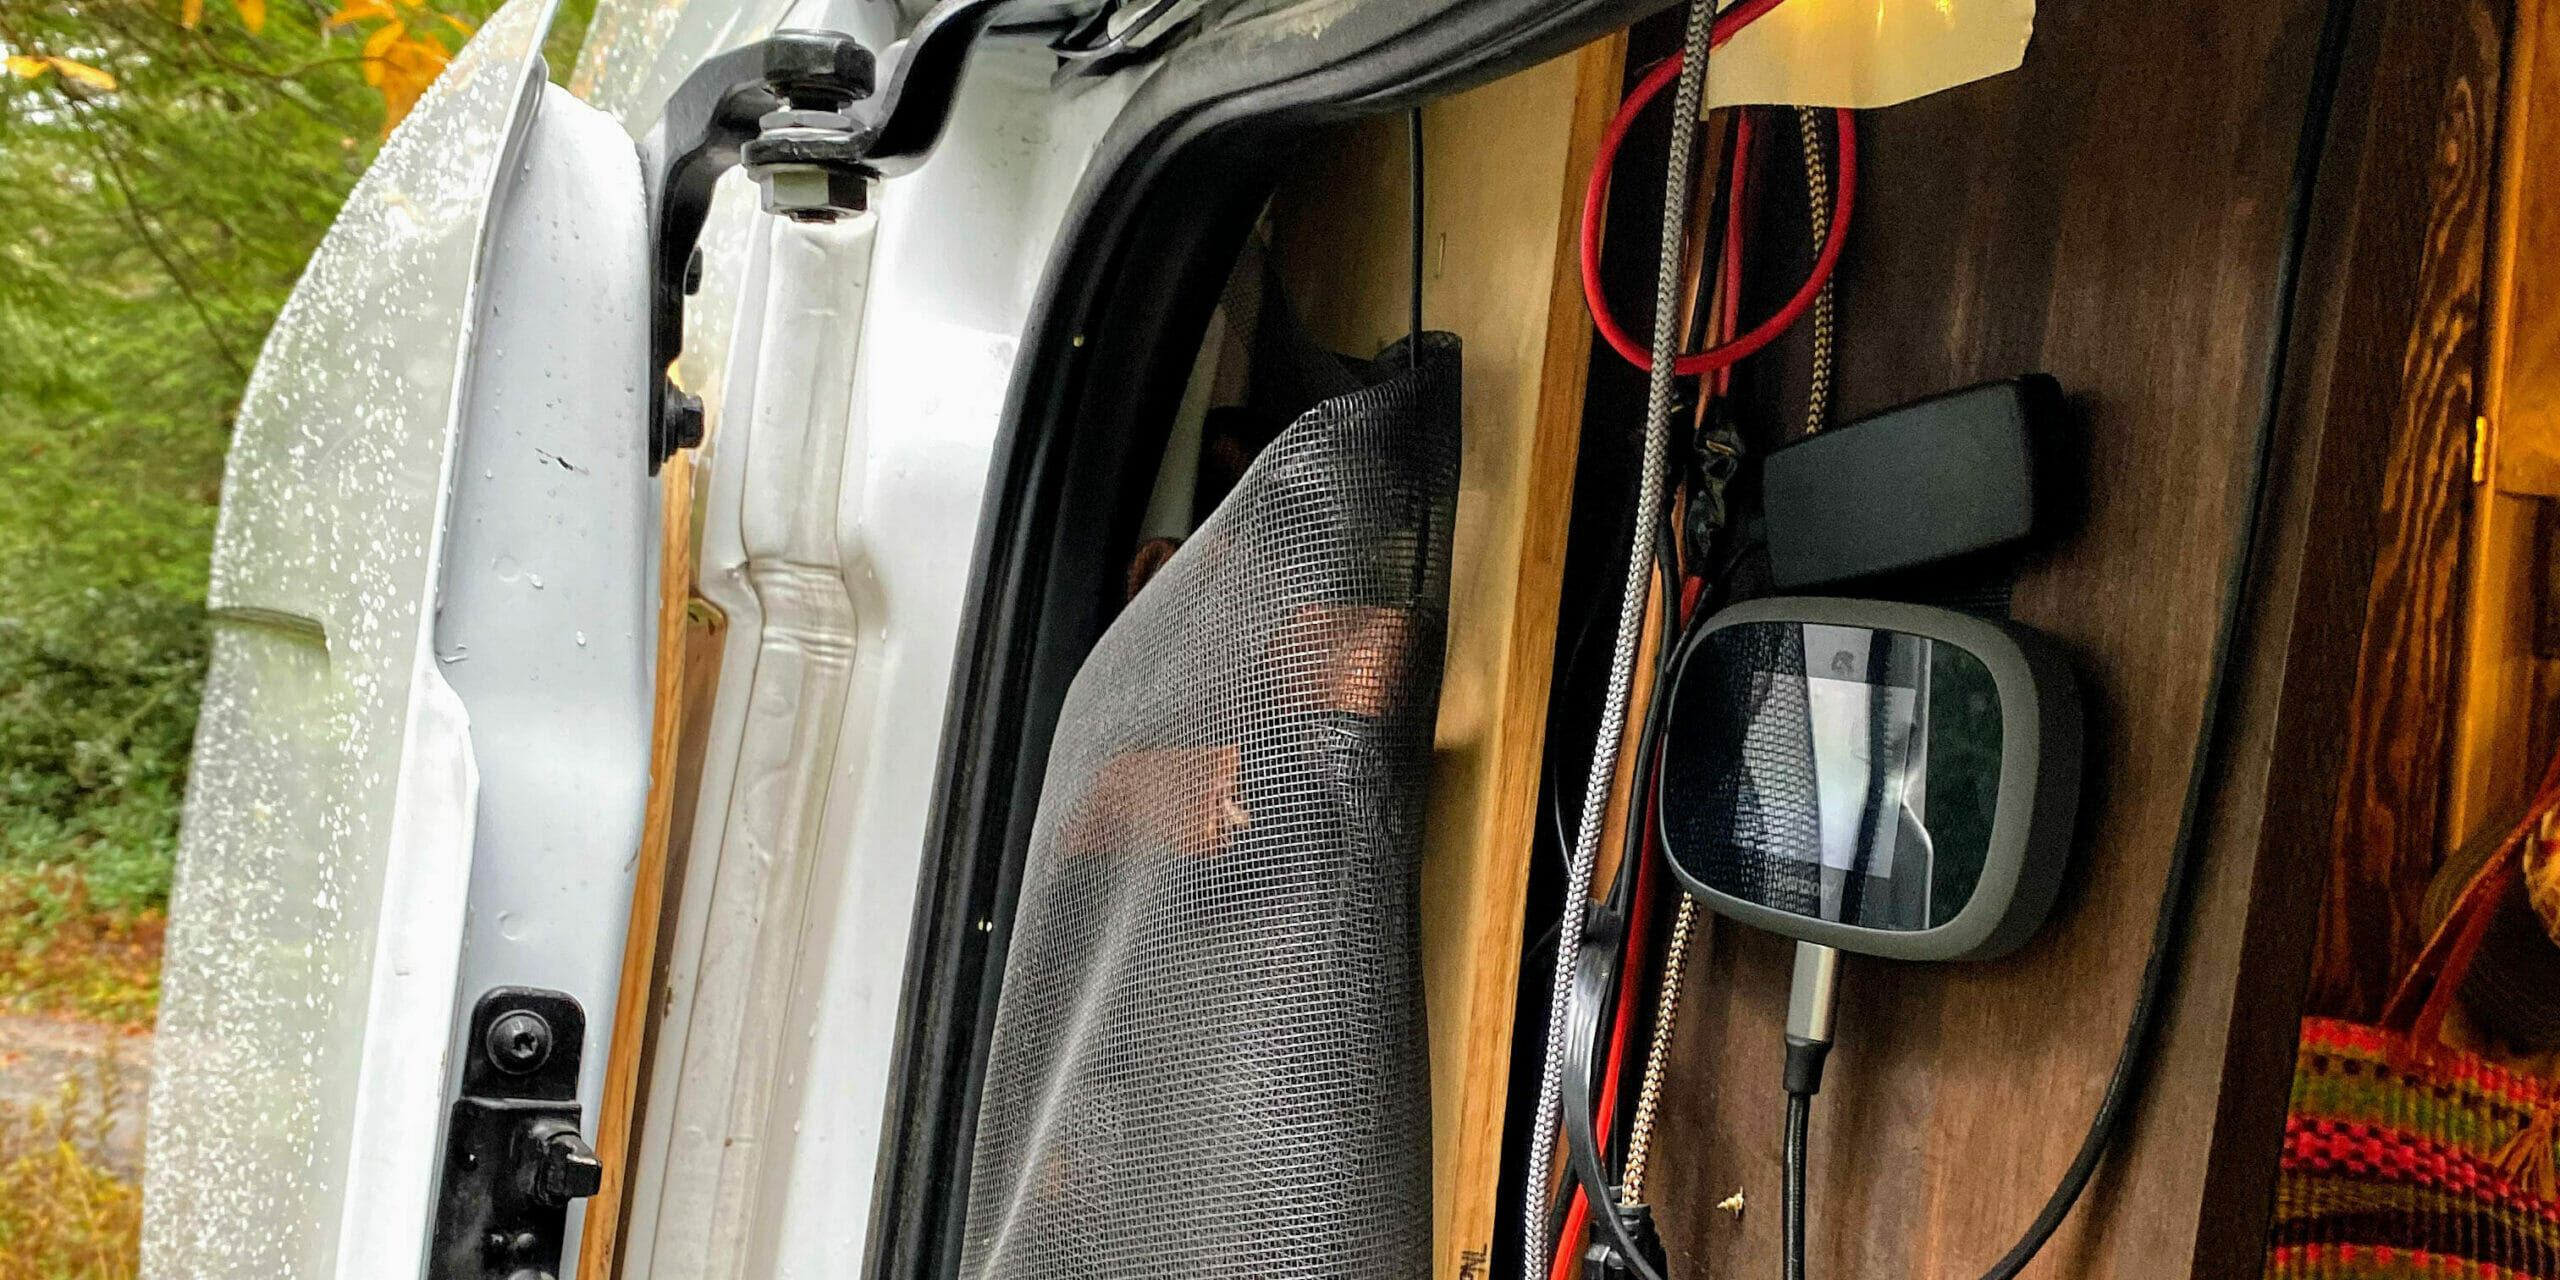
Bonding with a Raspberry Pi Access Point — Technically Wizardry
